We had been toying with the idea of building a precious wood boat for a long time. Now my wife has become enthusiastic about an Italian sports boat while on vacation. Unfortunately, this Pedrazzini Vivale Veloce in the original a little beyond our budget, so we decided … we will build together the Comtesse from aero-naut.
aero-naut is one of the few companies that aero-naut still deals with “real” model making. Despite increasing demand for ready-made models at reasonable prices, the family business, now in its 4th generation, remains true to the motto of the company founder – MODEL BUILDING is written in „capital“ letters. In 2022, the long-established company looked back on 100 successful years.
ScaleMonkey unfortunately does not yet have this long track record, but we are working on it. So, let’s start building the model. The Comtesse kit was ordered quickly and delivered really fast.
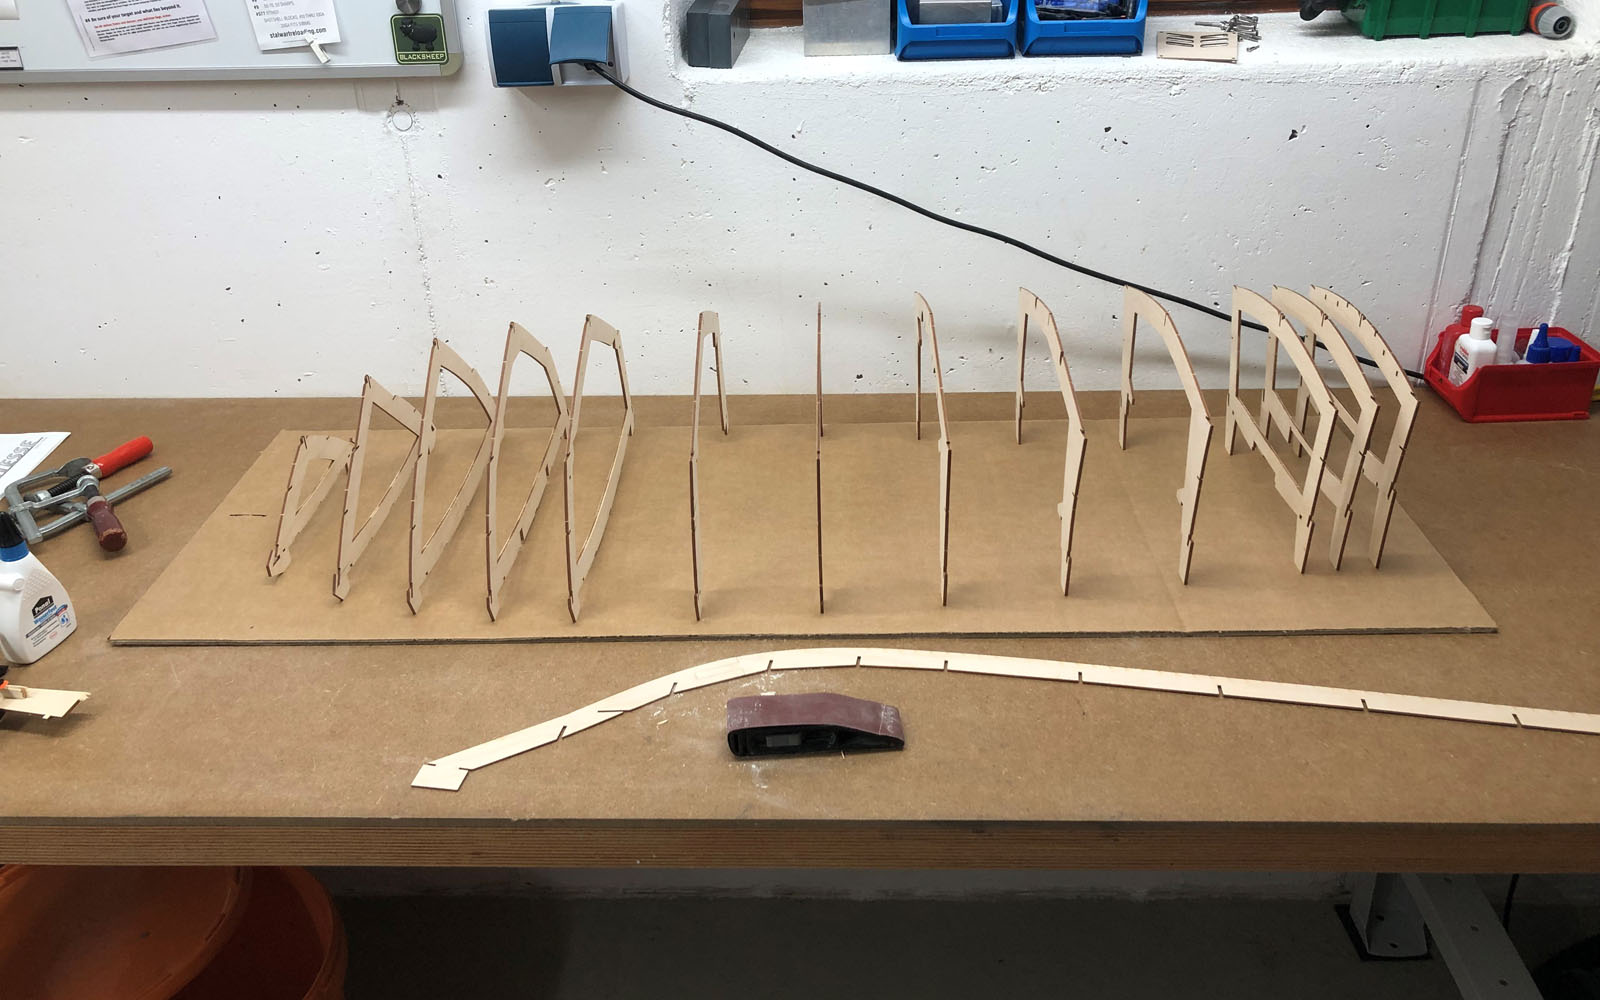
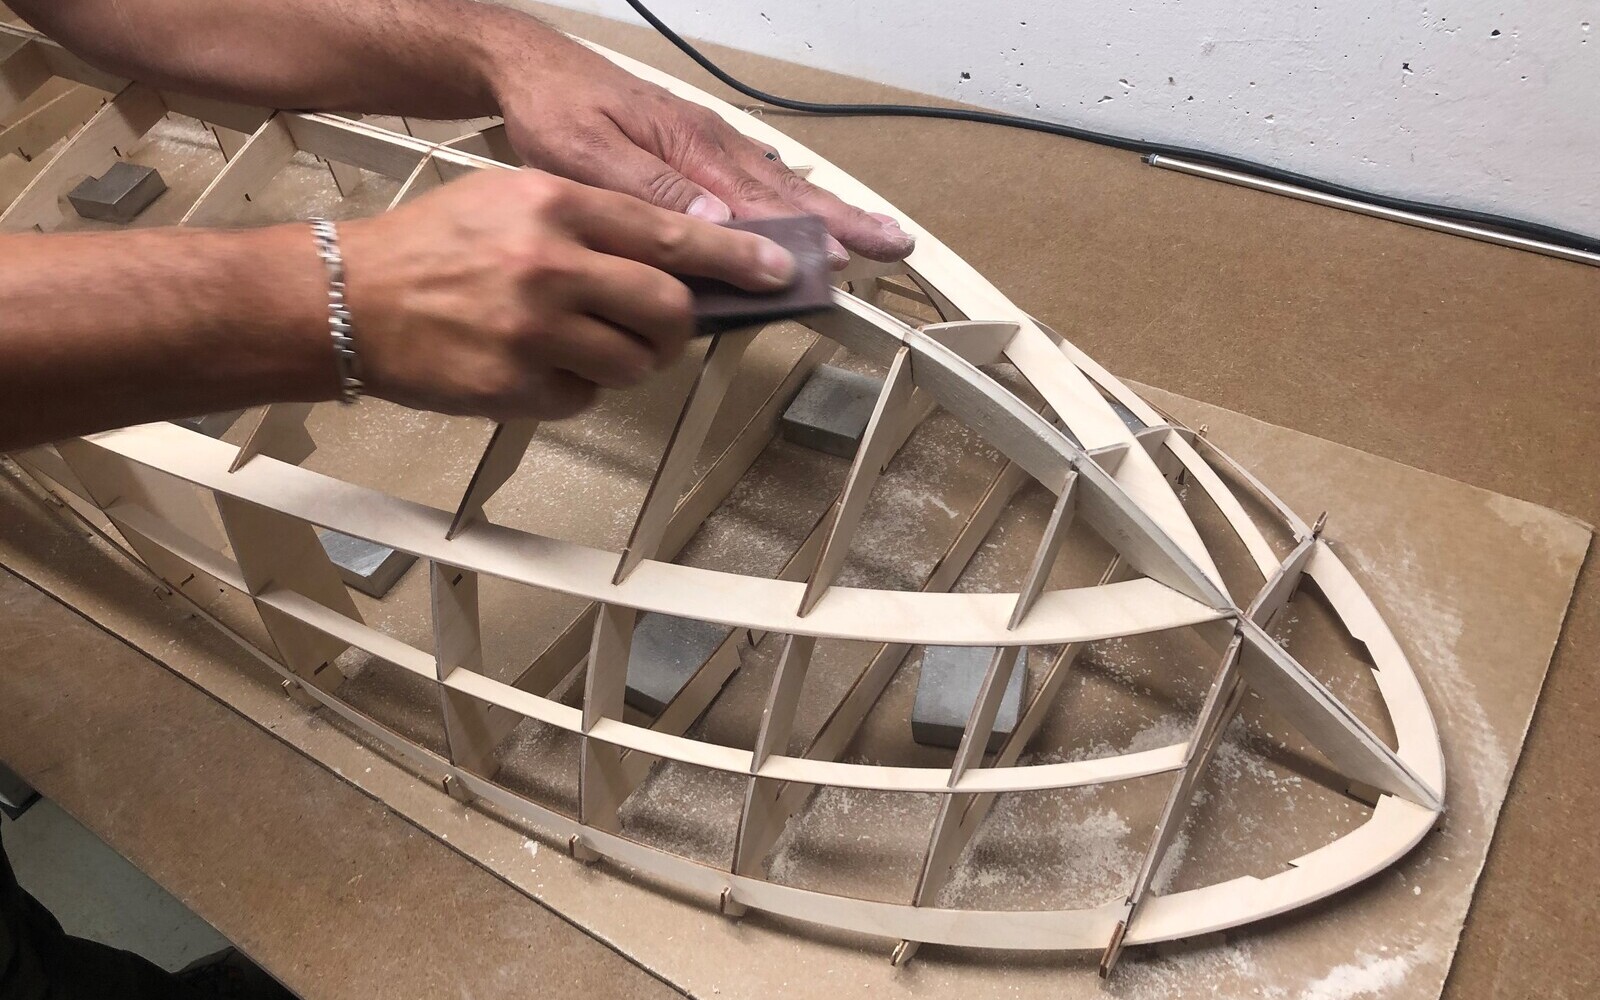
I don’t like the burn marks on laser-cut kits, so I started by sanding all the frames, stringers and deck supports. We have also deburred all the inside edges, as it is still easy to do.
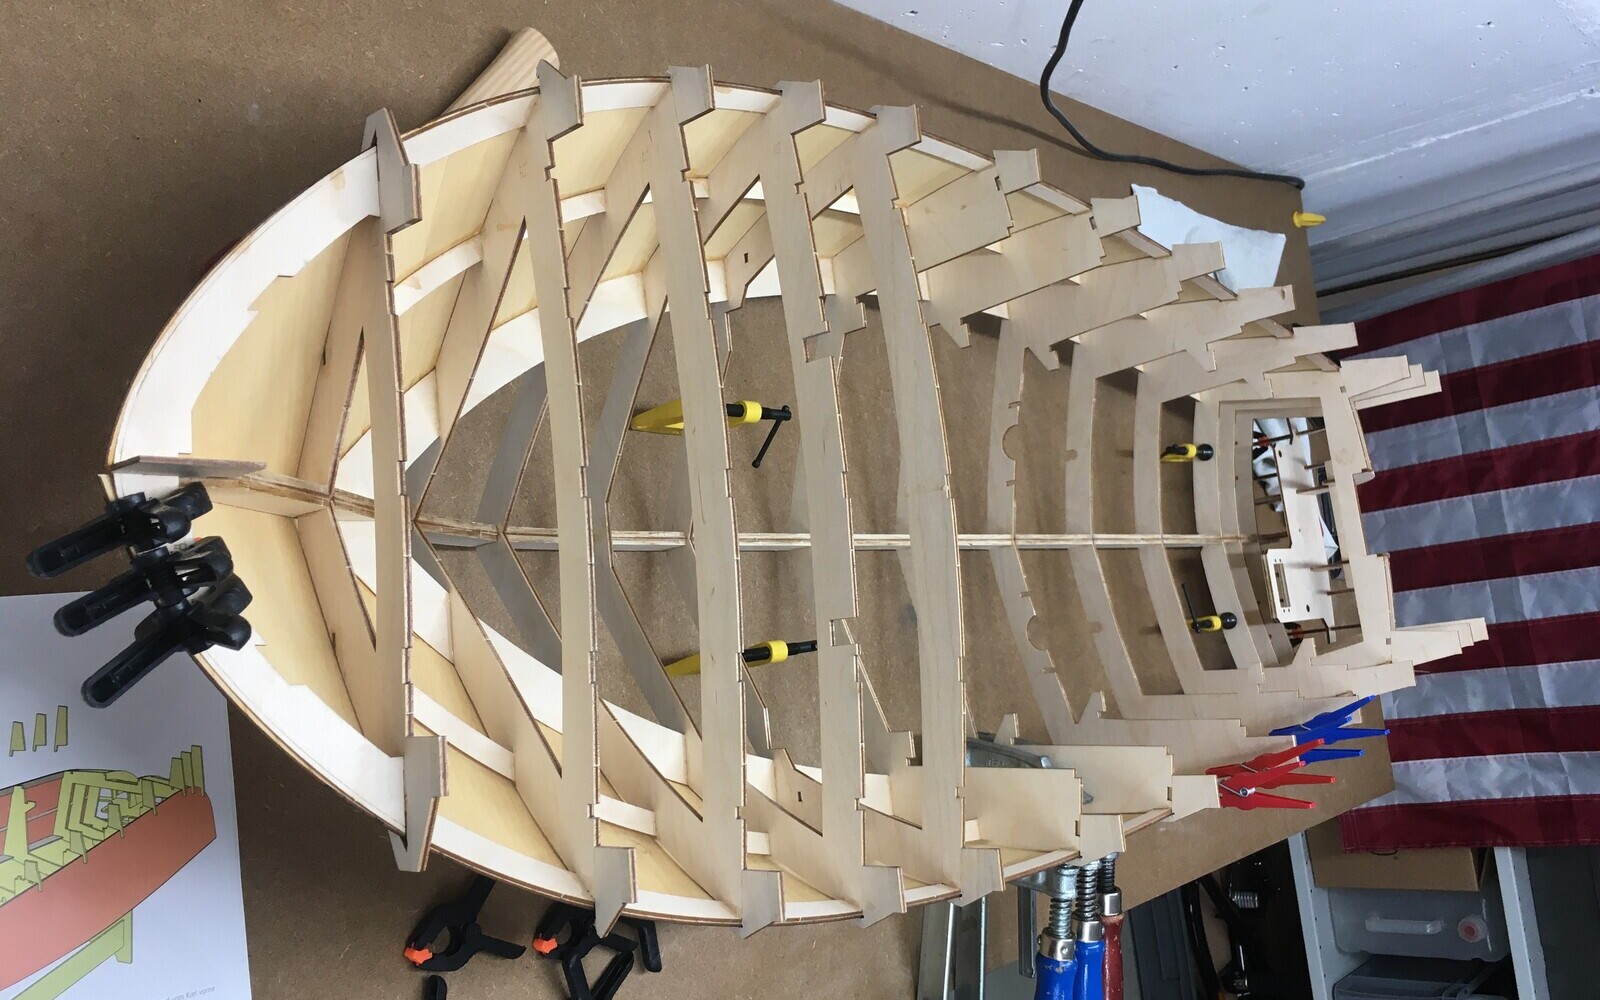
Now it was time for the assembly. The parts fit together perfectly. There was a small inaccuracy at frame 13 to deck support 17, which we fixed with a small piece of plywood that we used as a knot and then glued everything together properly with white glue.
the ground frames on the slipway
Top layer (part 17) completely installed
The sliding surface was glued here
Mounting the servo plate in the rear
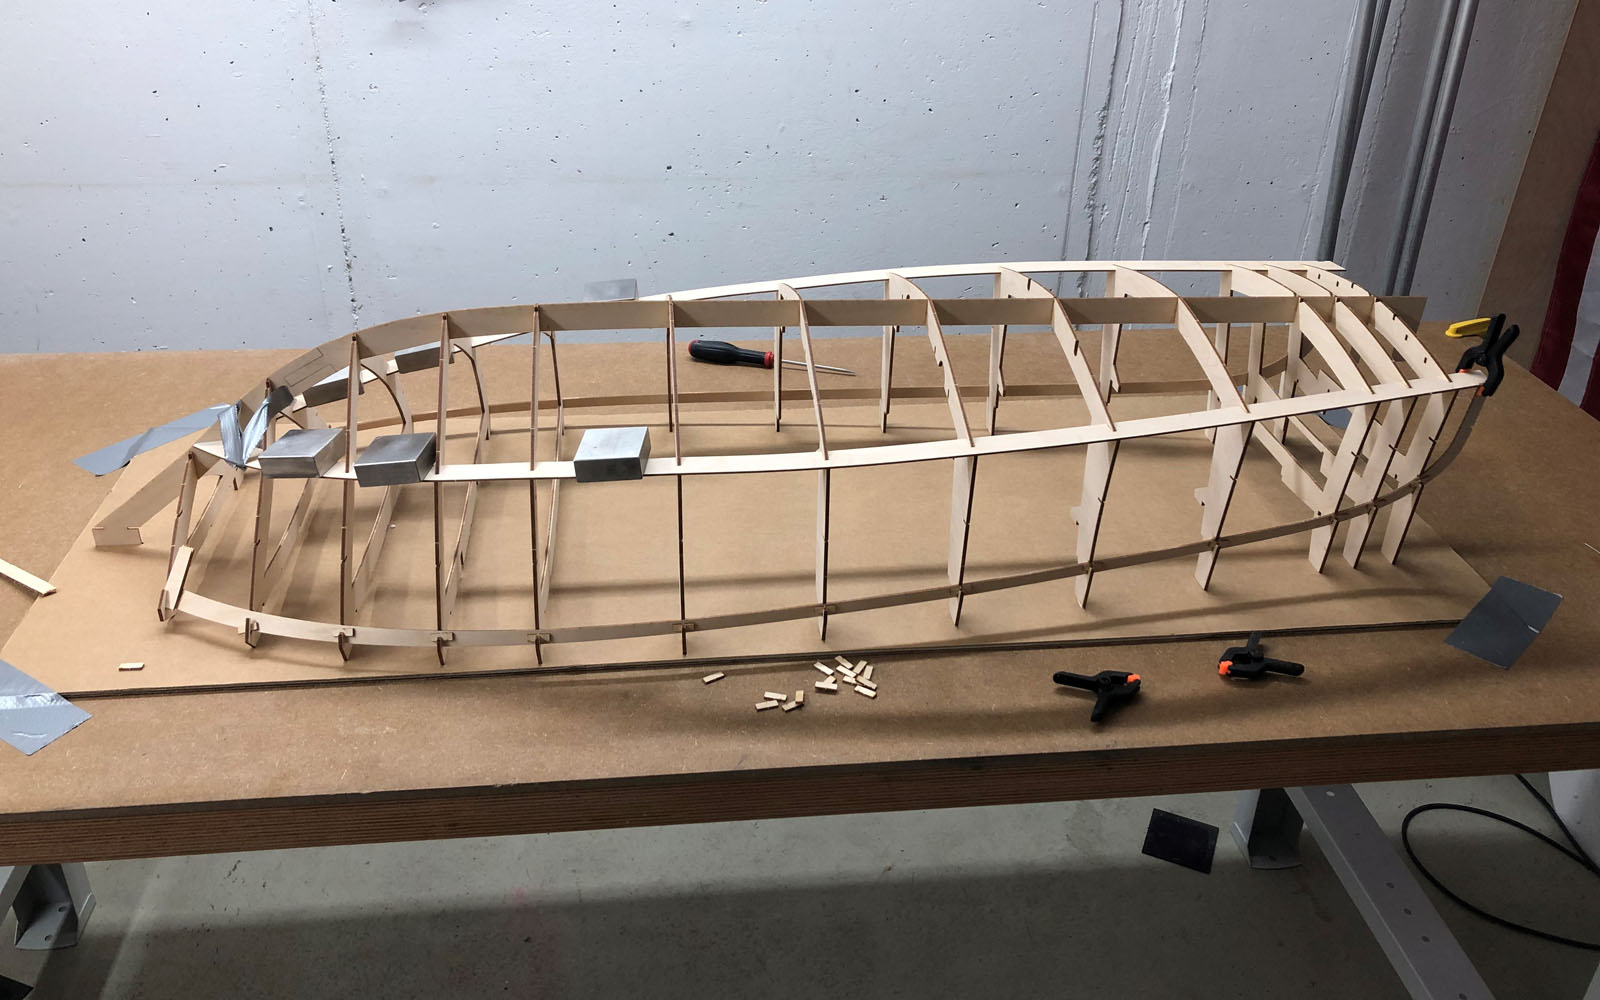
Before installing the servo plate in the tail, it is important to fit the servo into its intended recess. This work is very difficult to carry out later on. After the white glue had dried well, we sanded the entire frame and also adjusted the keel and the bow area to the lines of the boat.
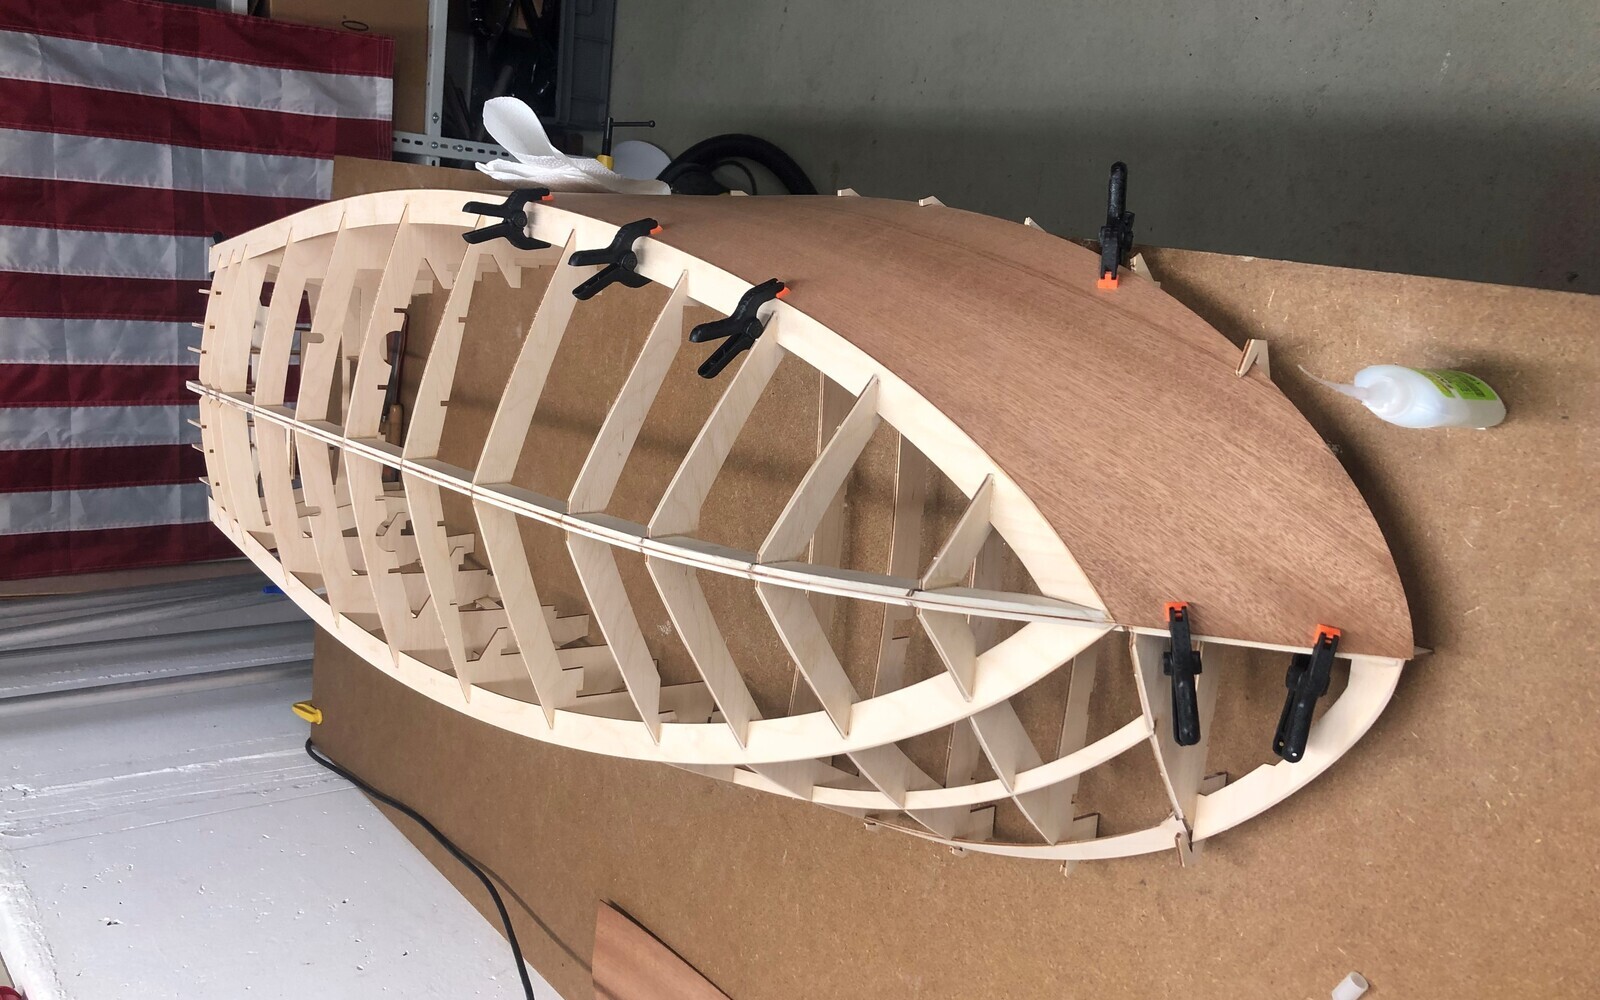
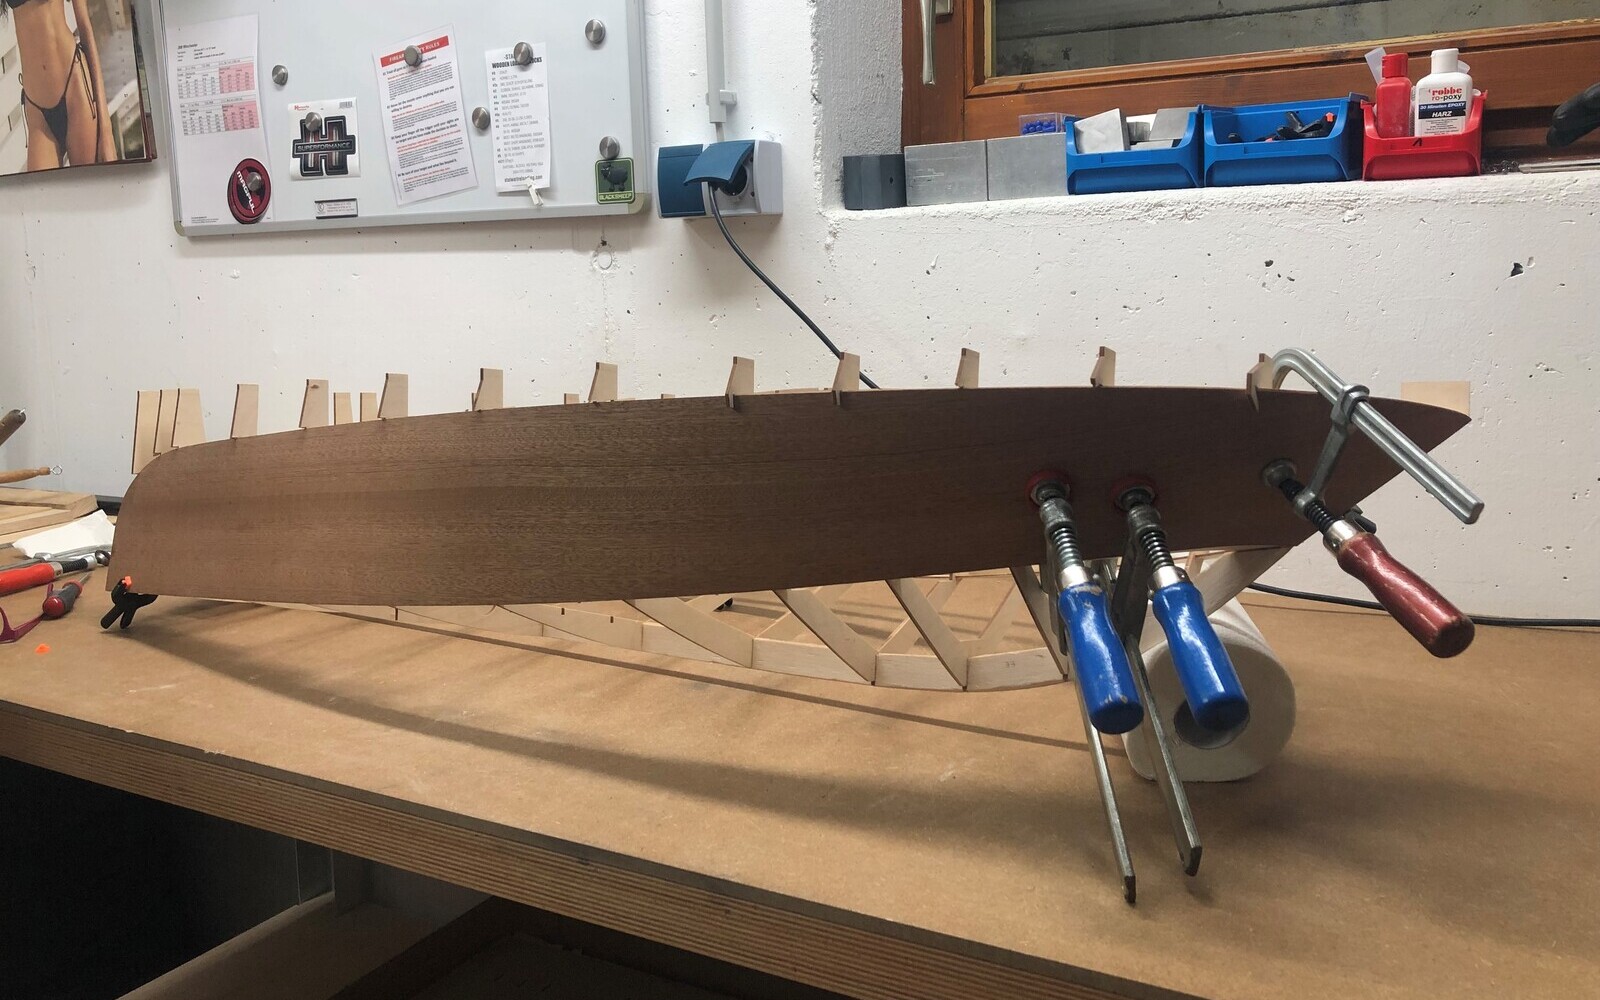
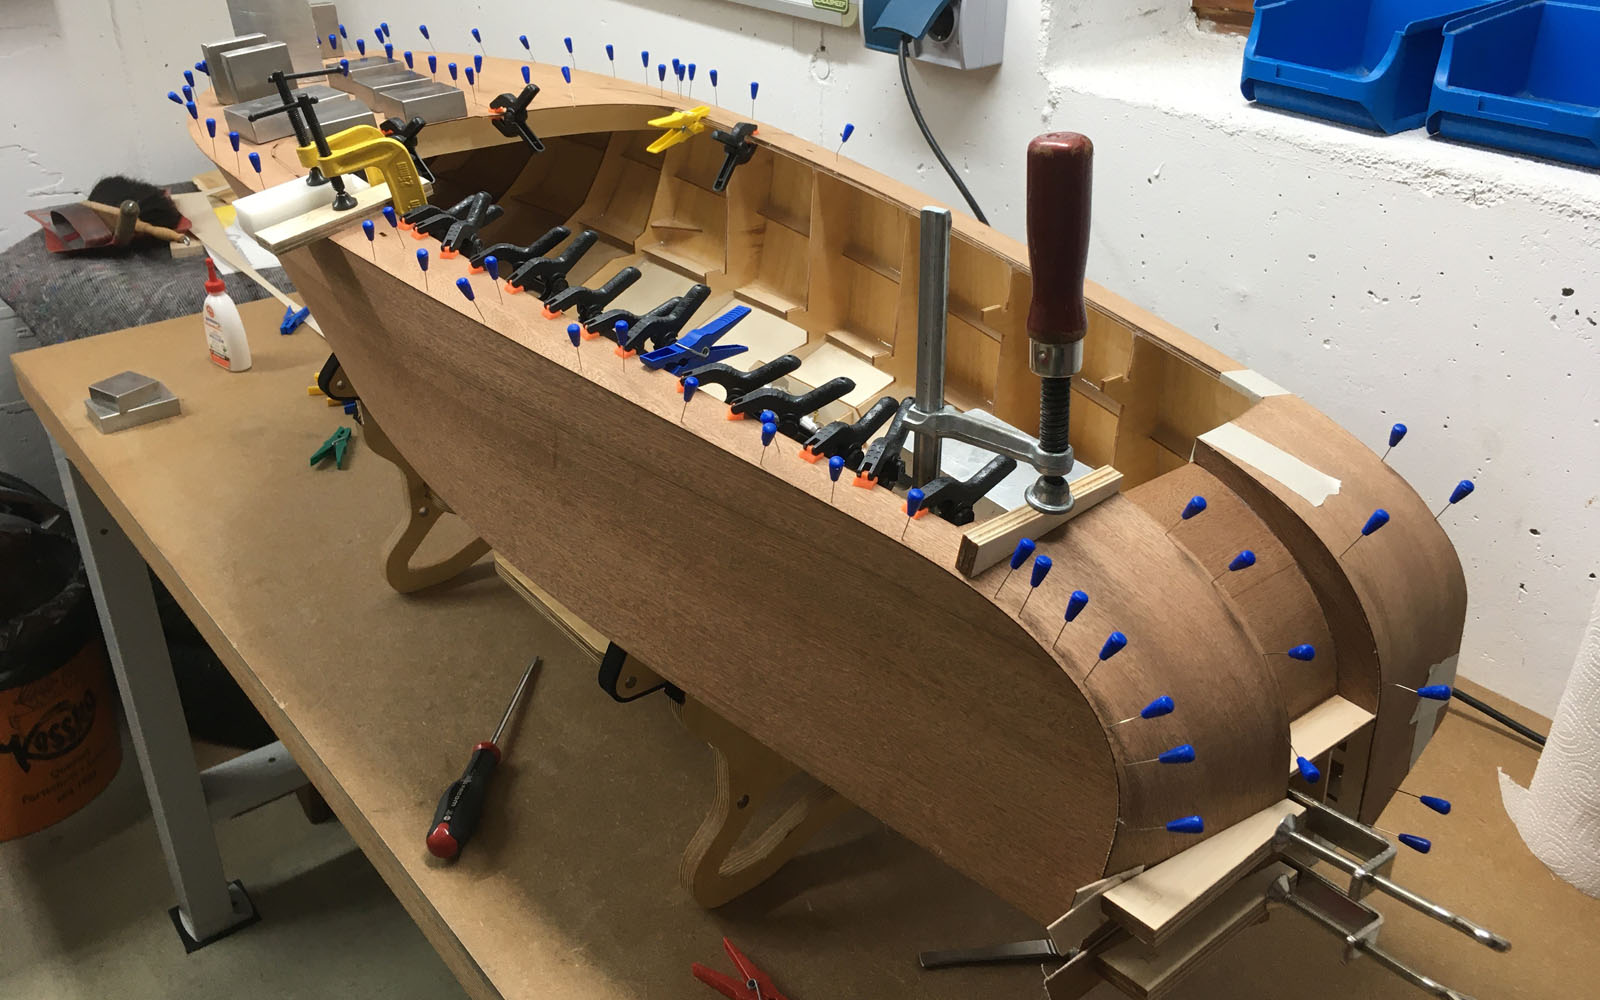
Now it’s time to plank the side of the boat. The small retaining tabs on the frames are OK, but we filed them a little wider so as not to damage the very thin mahogany wood. Now we have inserted the side wall parts and aligned them exactly with the bow and off we go, with small dots of superglue. This work is really great for two people, you wouldn’t believe how long seconds can be when you have to press on a spot. Now follow this step step by step along the sliding surface to the rear. Then follow the same procedure for part 17.1 and then, as described in the instructions, glue parts 16, 17 and 17.1 properly with slightly diluted white glue.
Do not be confused by the large screw clamps, these are not tightened. They actually only serve as the 5th, 6th or 7th hand and only press against the side of the boat due to their own weight.
the keel and bow area is adapted to the course of the rail
Side panel precisely aligned with the bow
the second side panel is fitted
the side panels are first fixed in place with second adhesive
these screw clamps only serve as 3-4 hand
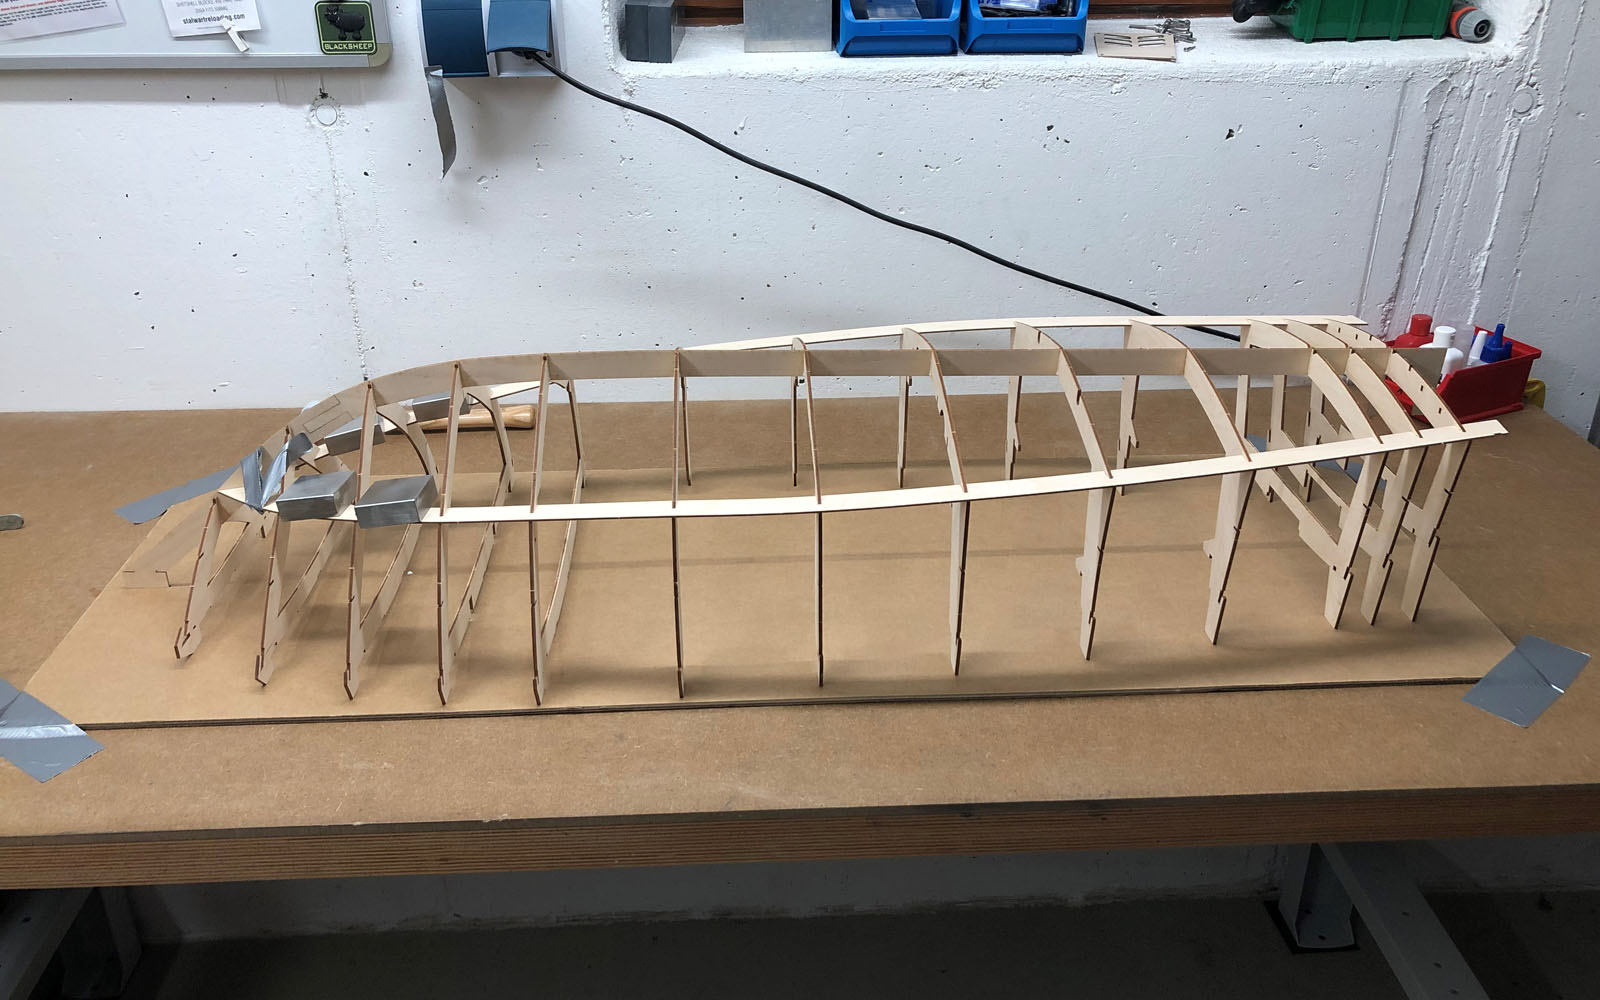
... already looks like a boat
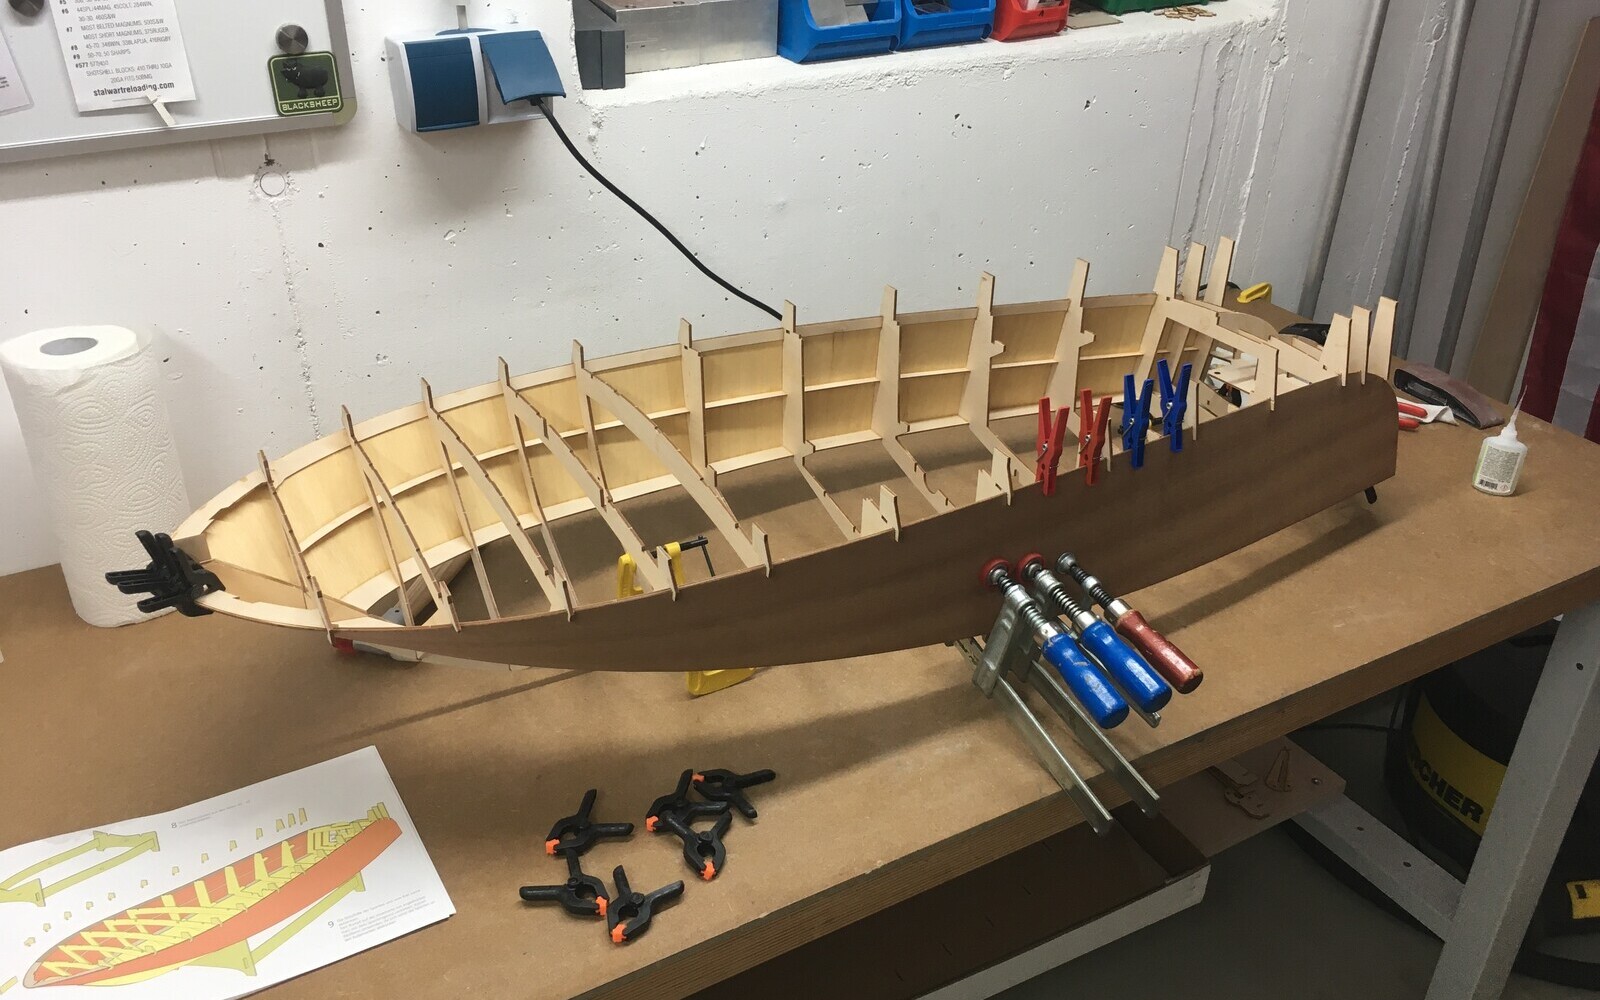
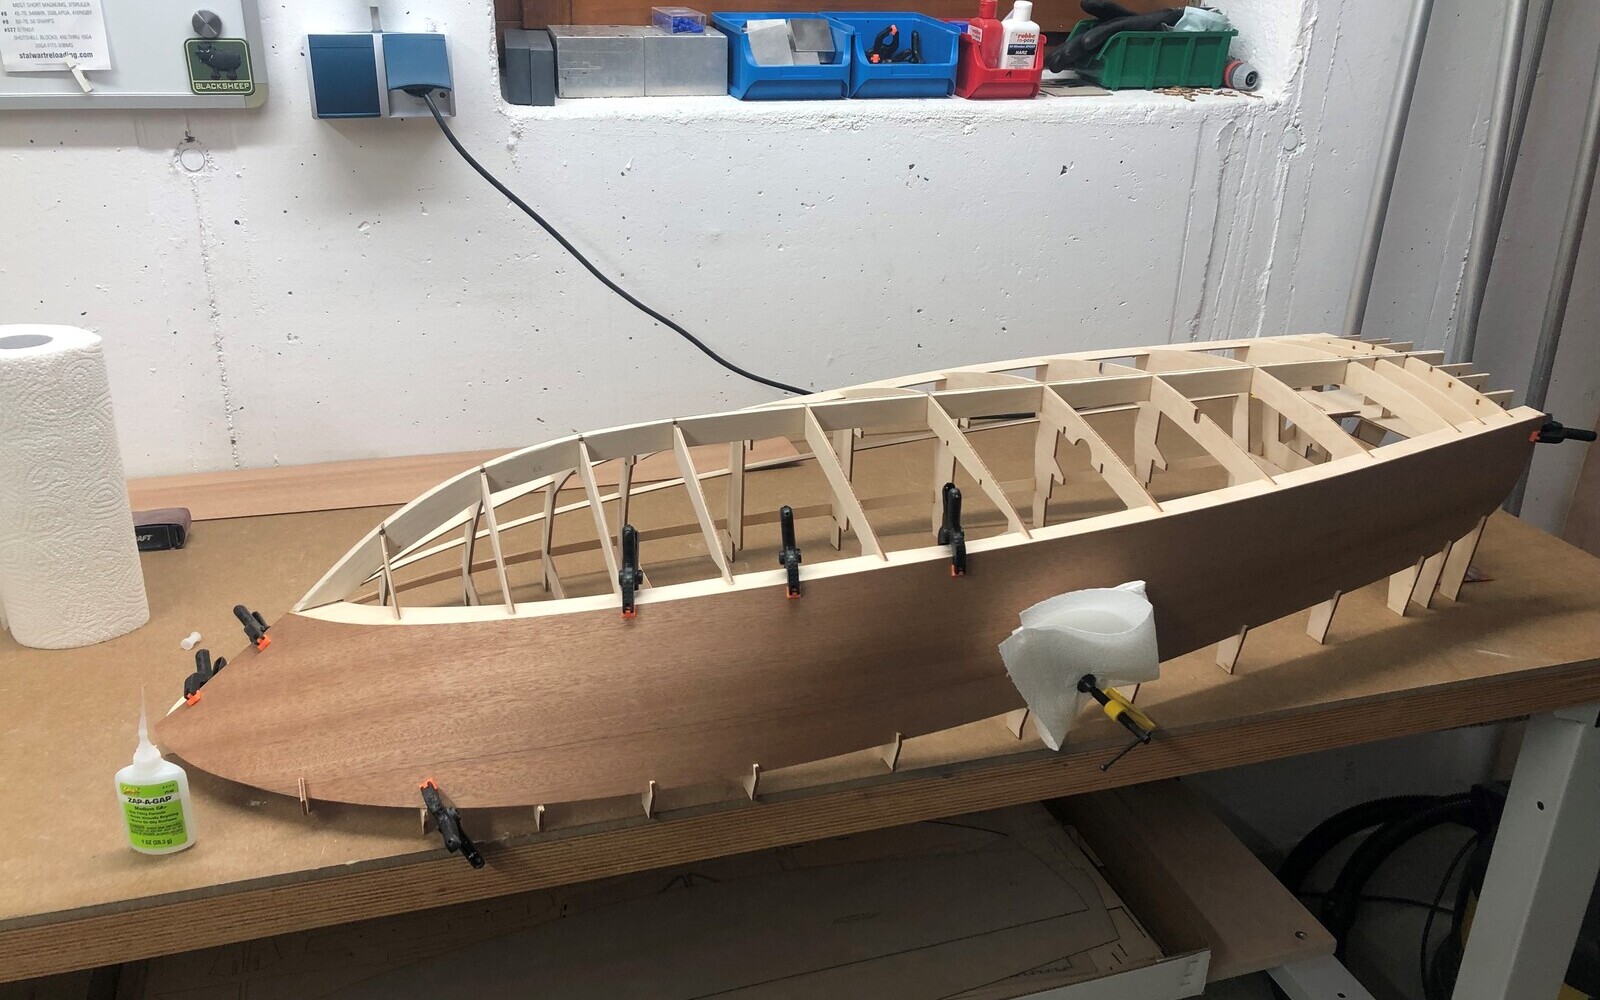
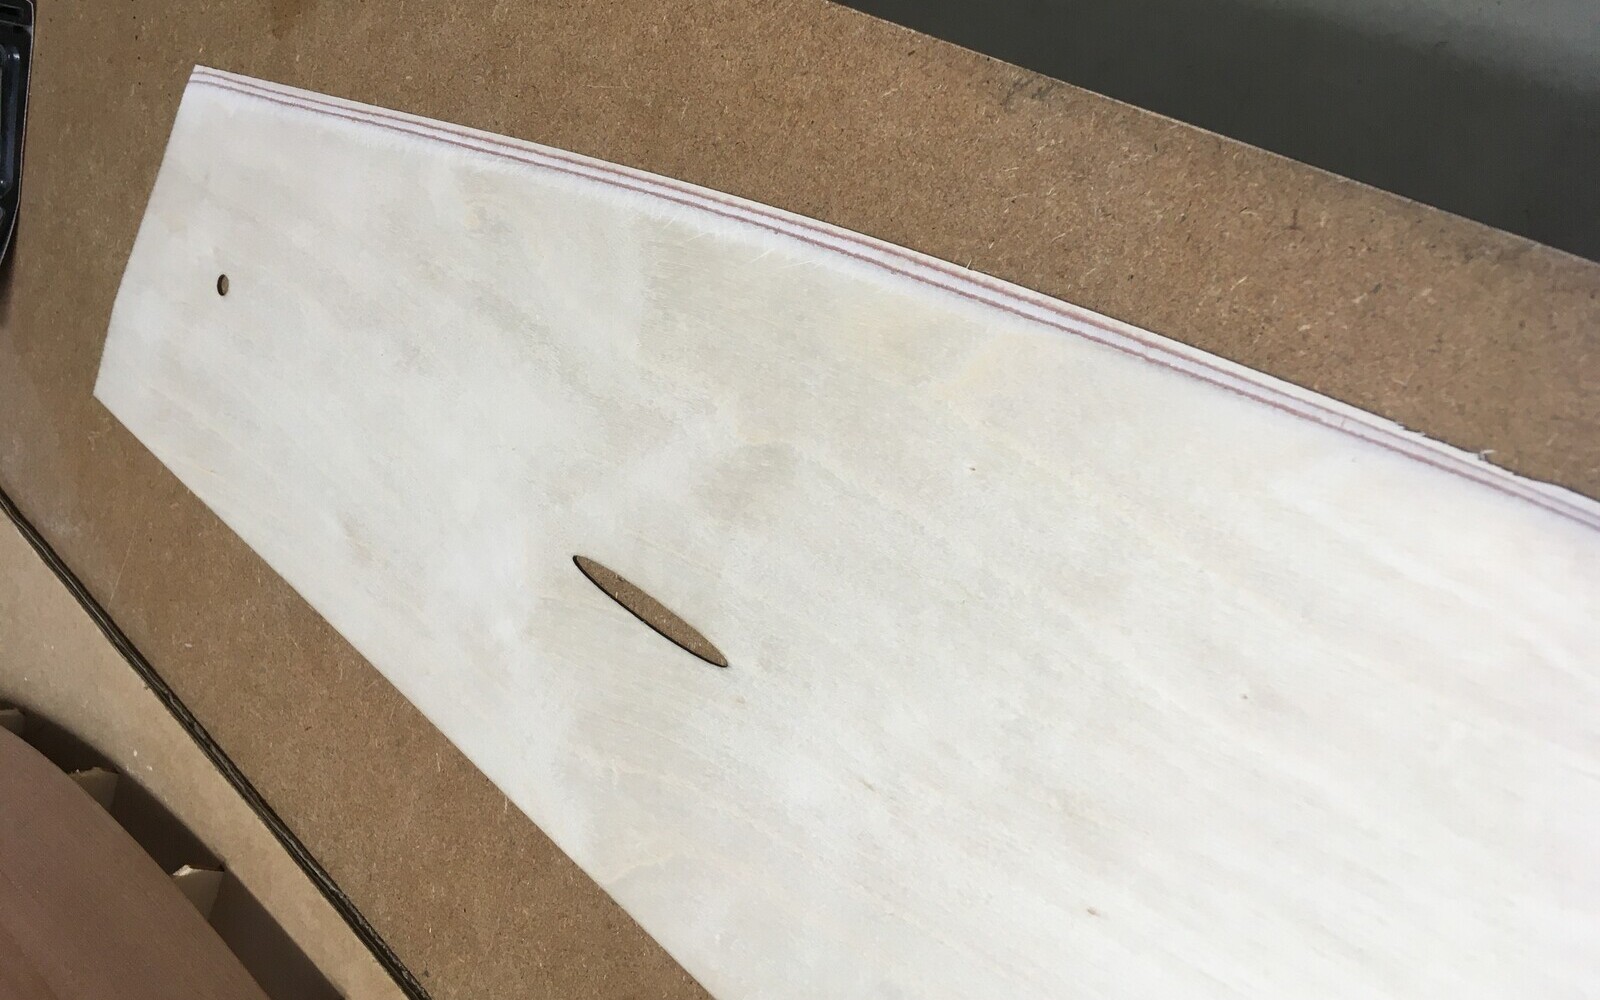
The gluing of the side walls has hardened and we are very satisfied with the result. Now it’s time for the underbody. The shape of the parts fits very well on the frame. To get a nice sliding surface or tear-off edge for the water at the end, I sanded the plywood floor exactly to the sliding surface (part 16).
We then applied undiluted white glue to the frame and aligned and fixed the parts from the bow along the keel as described. On our boat, the parts also lie perfectly on the frame, there is only a small gap at frames 9, 10 and 11. We did not press these on, but filled them with thickened epoxy resin.
We always use epoxy resin L and hardener L from R&G for such work, plus cotton flakes or thixotropic agents as required. This is not the fastest resin, but it penetrates deep into the wood and has excellent strength and elasticity.
But let’s look at it this way… Model making is NOT about speed (when building, of course), it’s a hobby and the result is what counts.
the floor is ground exactly to the sliding surface
the first floor panel is fixed with weights
the transition looks good
... Proceed in the same way for page two
Yes, as briefly mentioned in the previous article, the resin system we prefer is not exactly the fastest. Gluing the individual frames and the inside of the fuselage with thick resin is therefore a little time-consuming. But this also has its advantages, as you discover some things that are not so optimally solved. But more on that later …
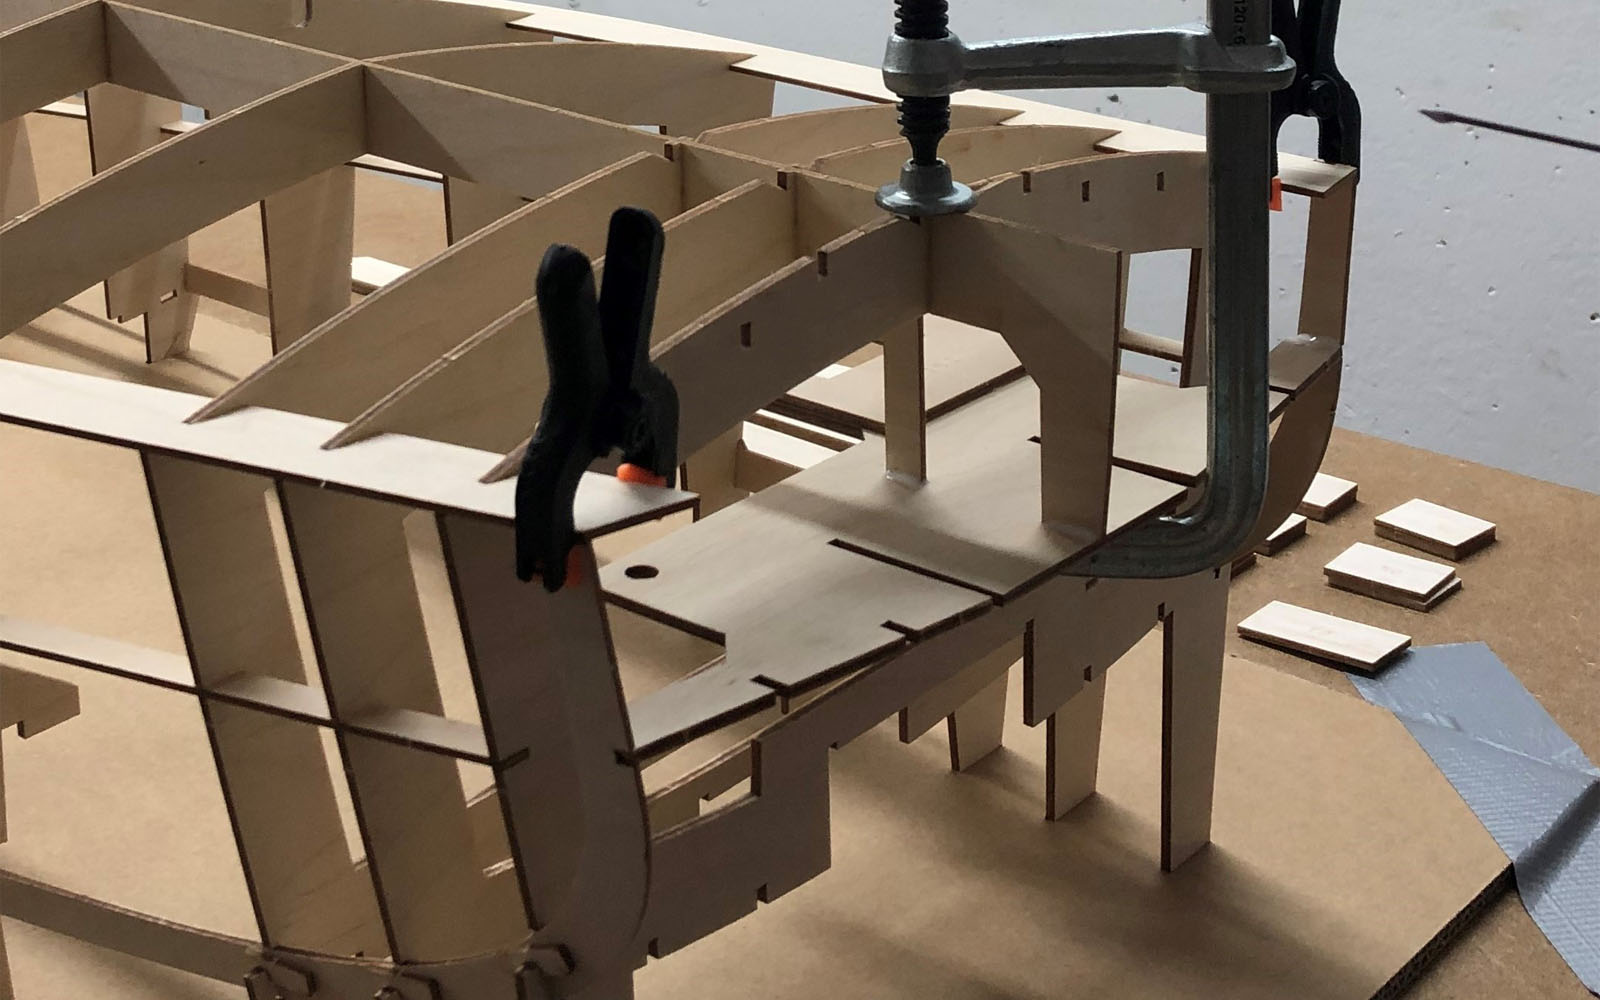
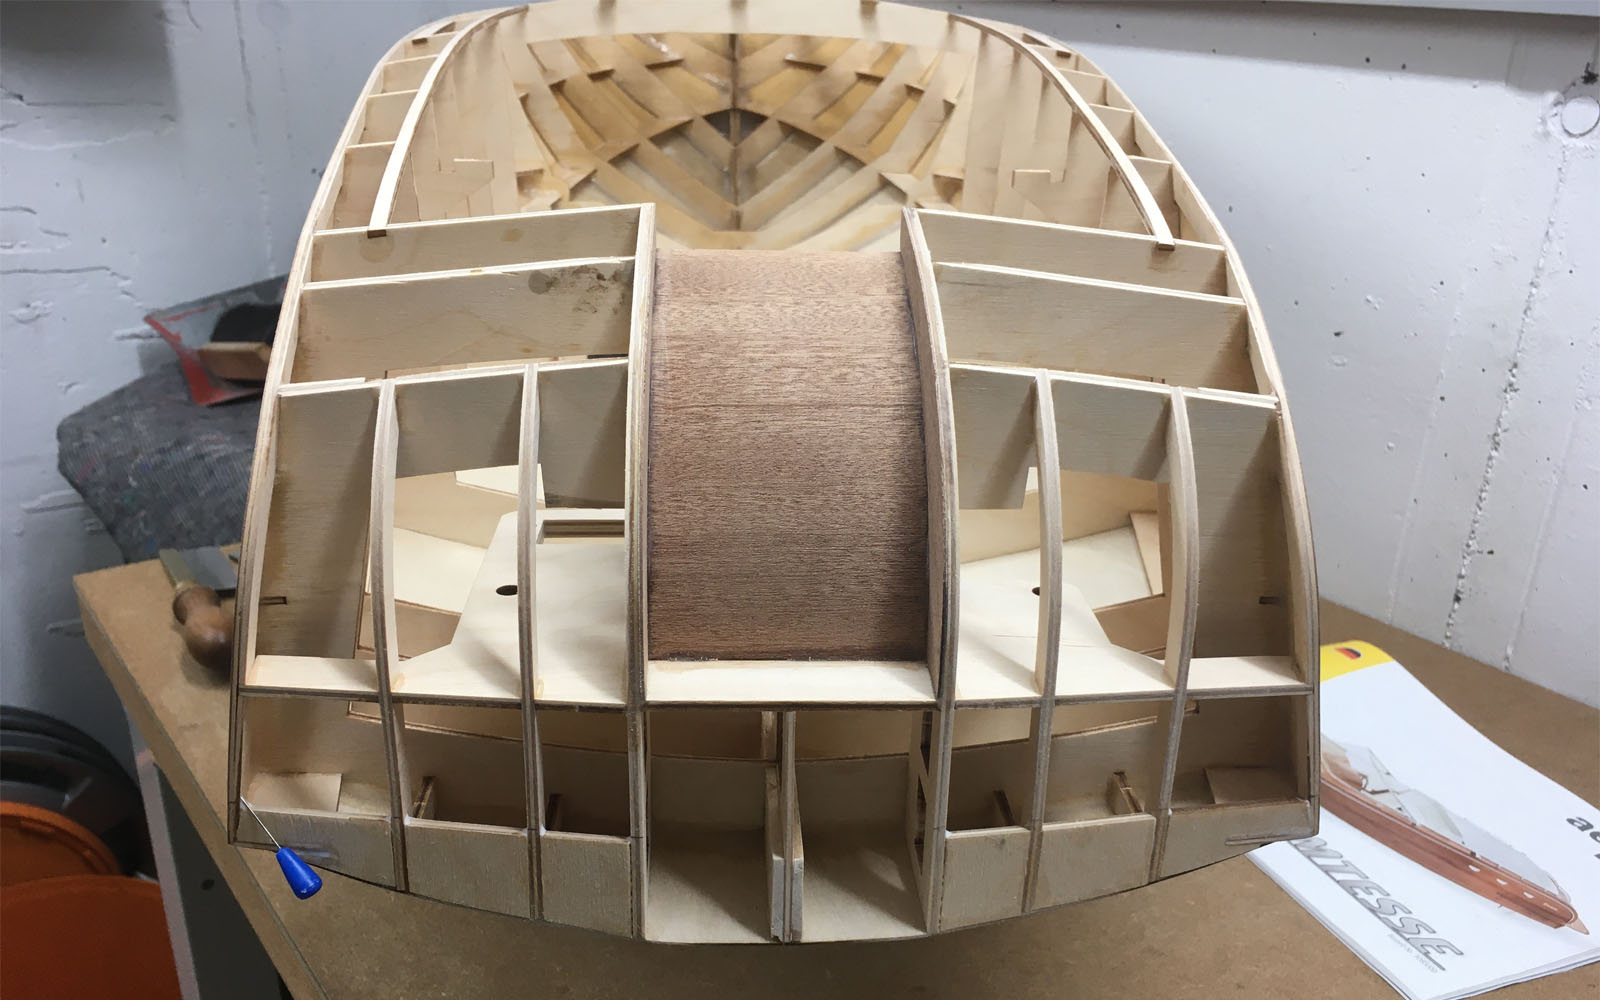
Before we put the boat in the most impossible positions to harden, there were always little things to do to bring the construction forward a little. This is how the scaffolding for the deck superstructure was created and the rear staircase was glued in. Over the next few days we then shaped it “what a lot of sanding!” But for now we are very happy with the result.
Gluing with thickened resin
Reinforcement of the rear with 3 mm plywood
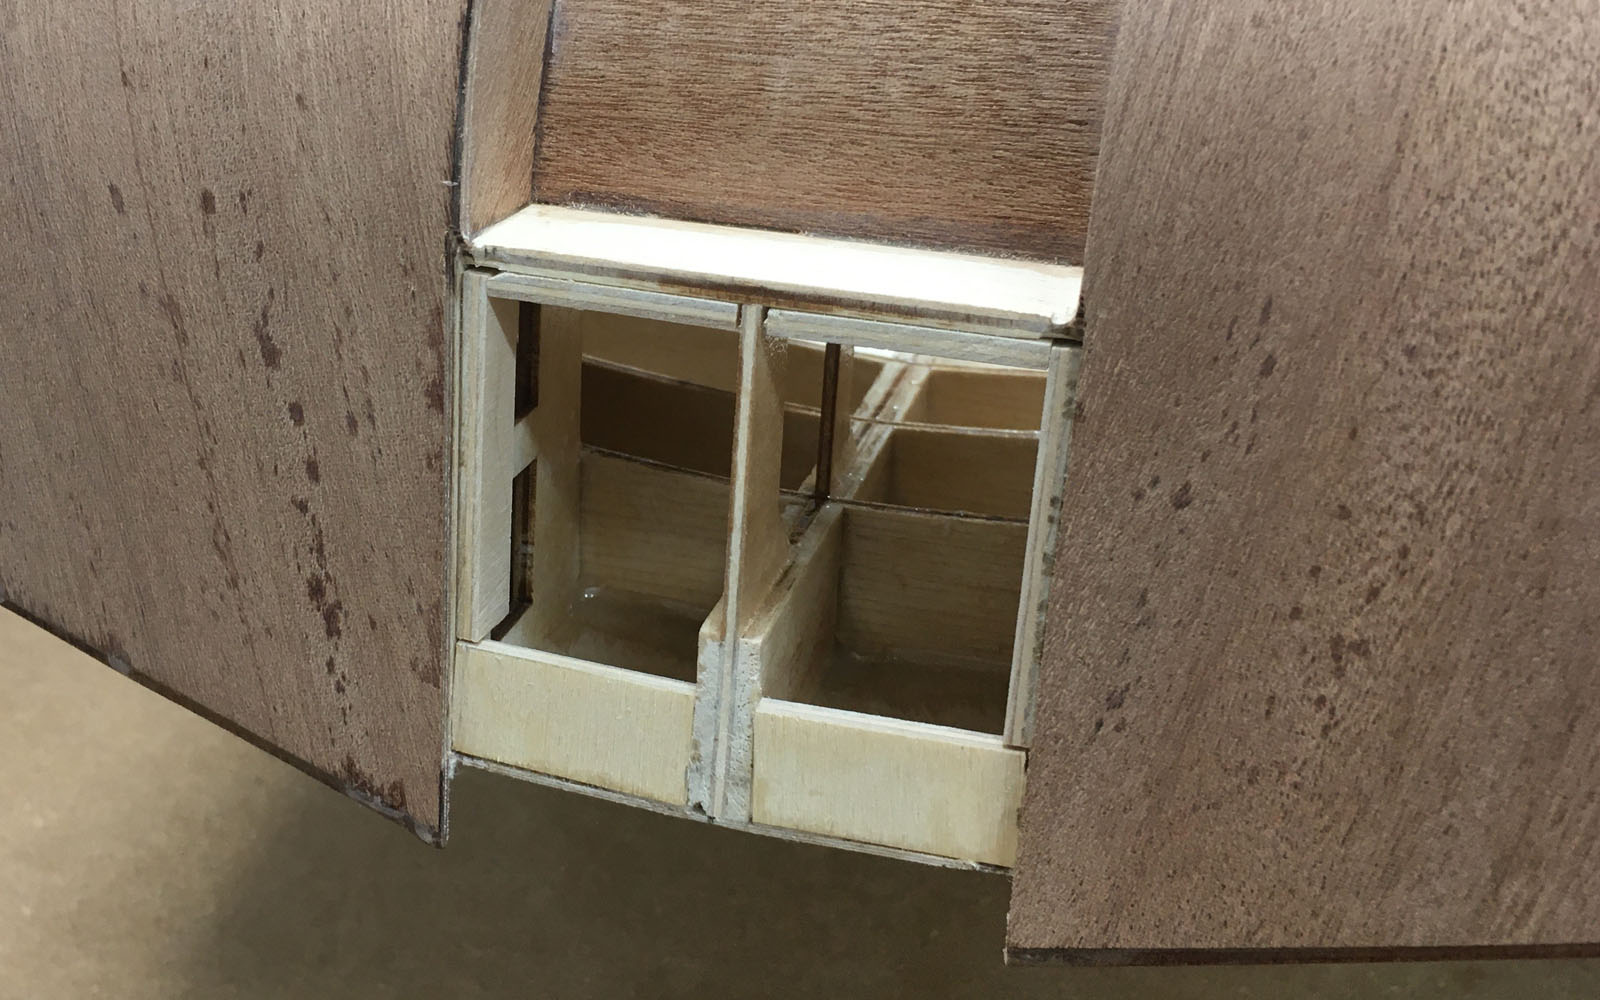
After spending days painting the inside of our boat with thick resin, we have plenty of time for smaller jobs on the side. We have already reinforced the transom and milled some of the necessary cut-outs-
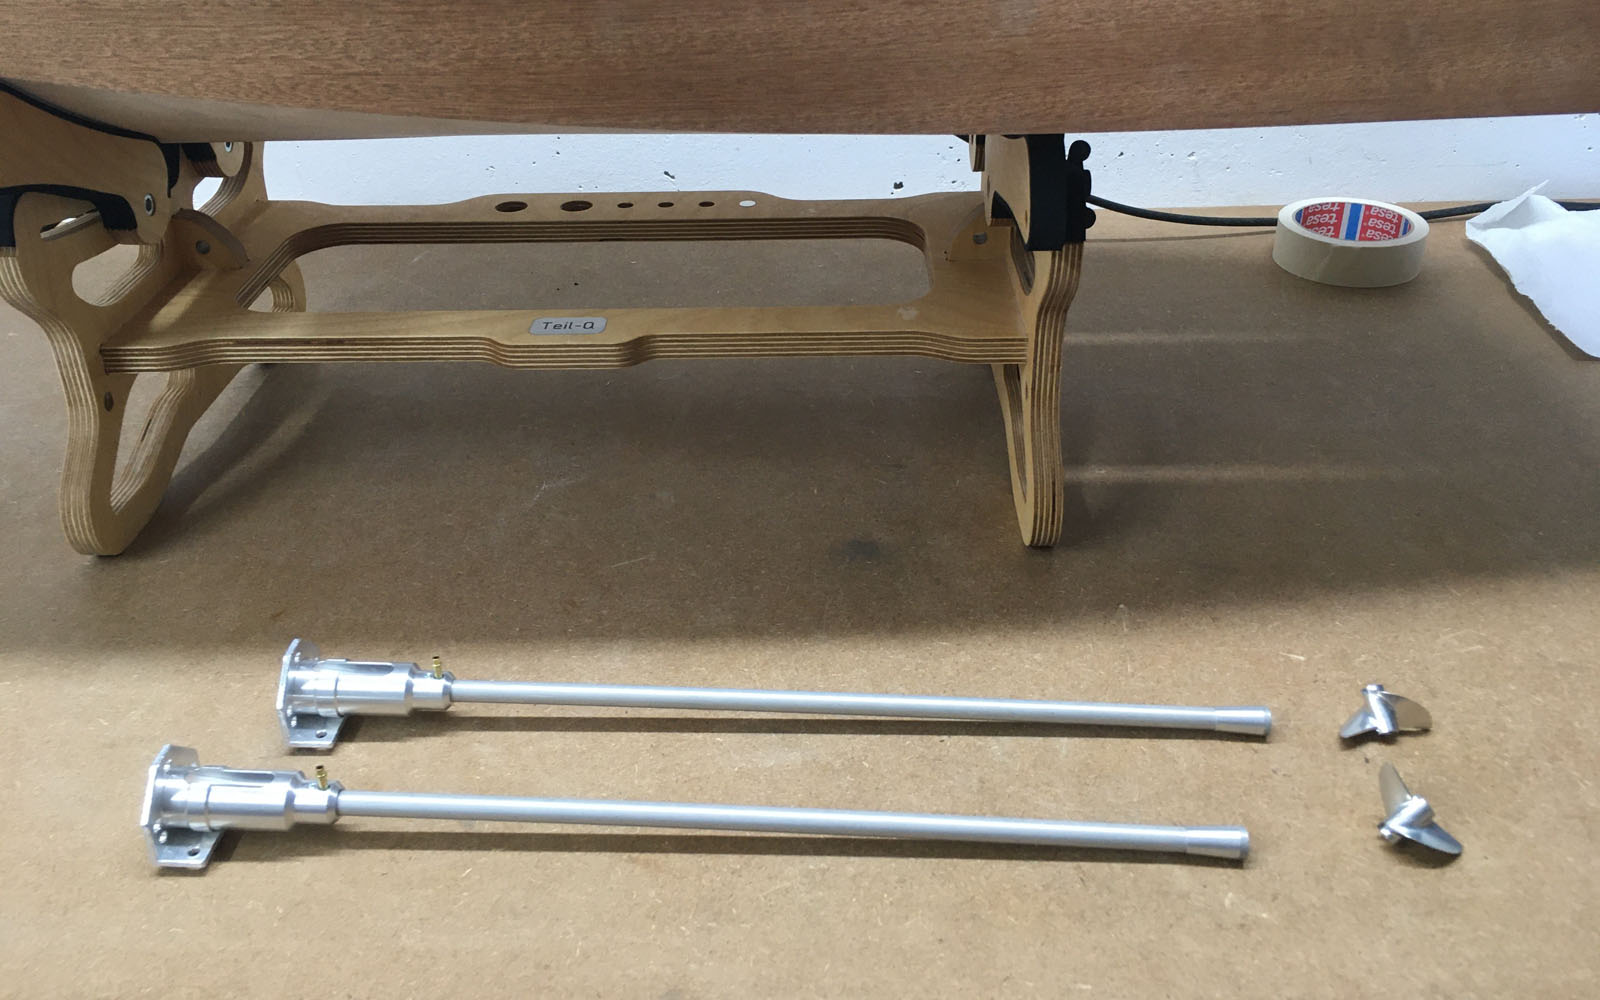
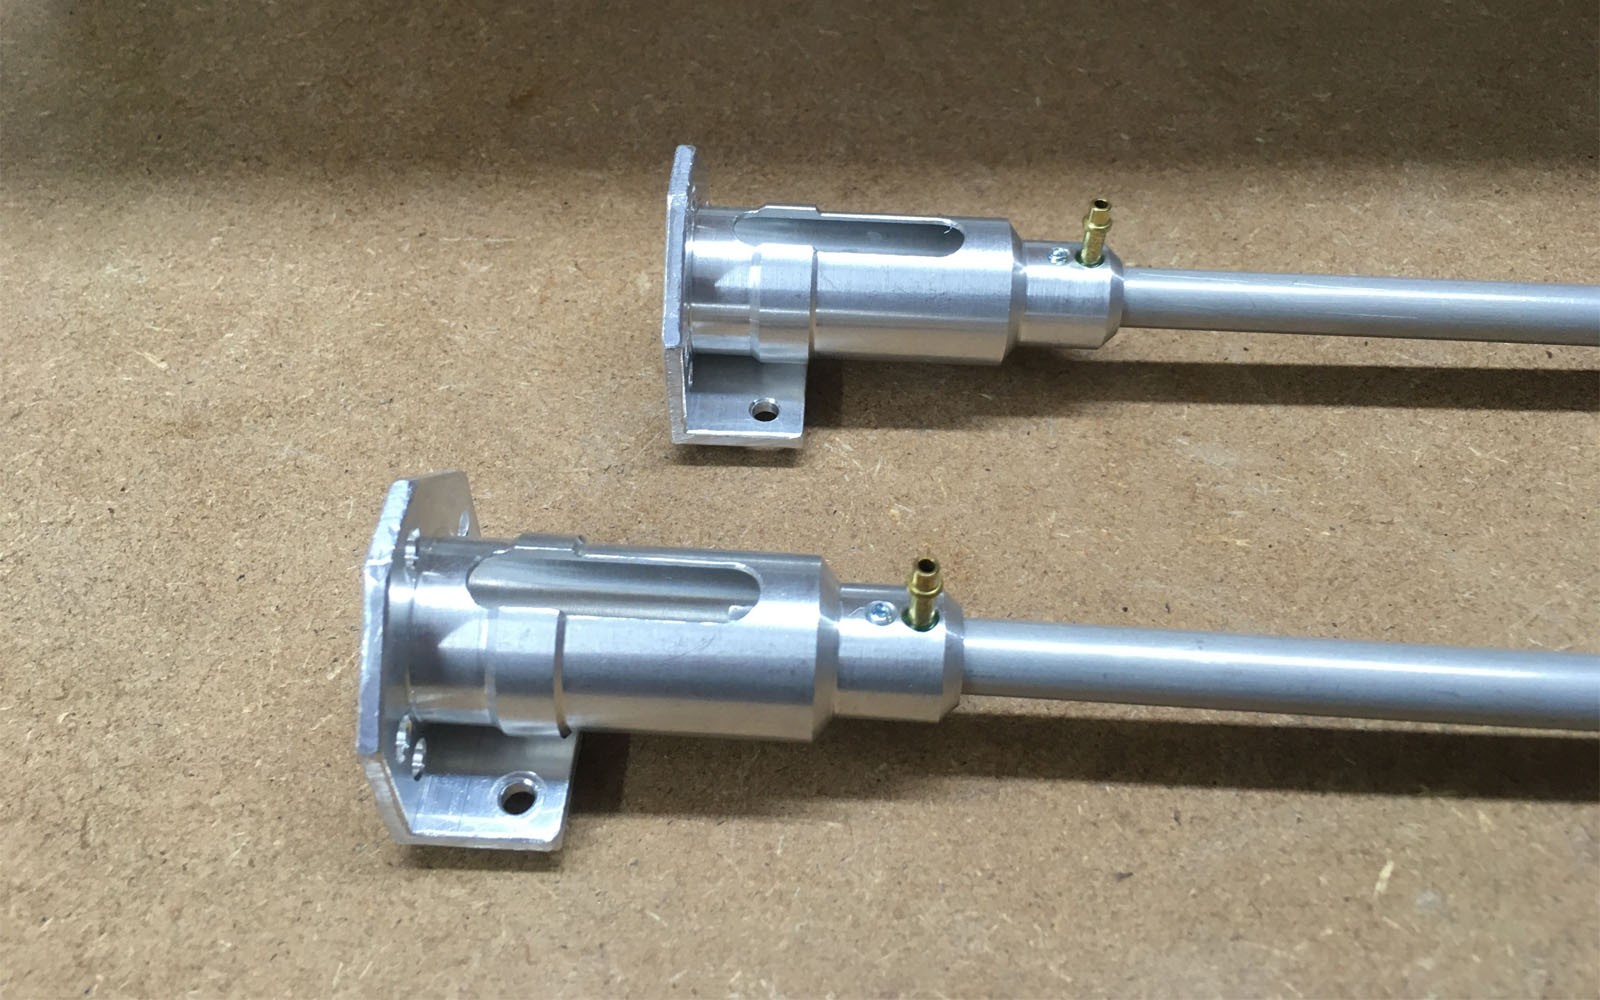
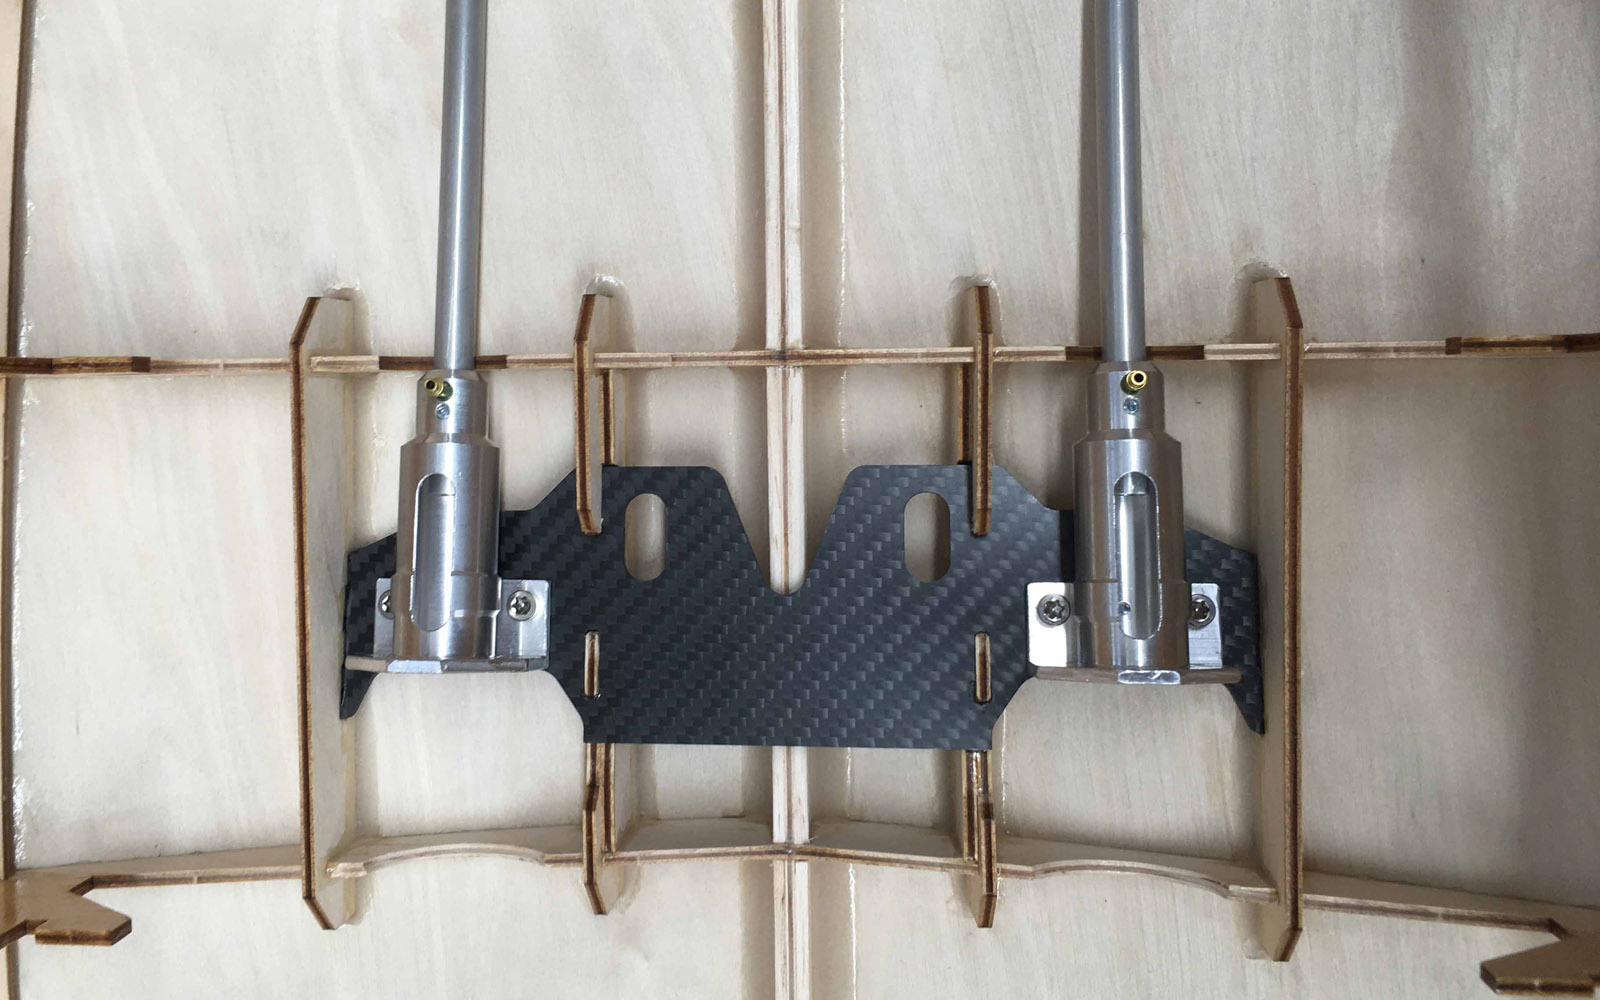
But now to the drive. The original from aero-naut “well” may work but is not really what we have in mind for our boat. We wouldn’t be ScaleMonkey if we didn’t go one better in terms of technology, which is exactly why we opted for the Gundert shaft system. These are rigidly connected to the motors, which guarantees perfect concentricity and therefore low-vibration rotation of the shafts. I made a Carbon engine mount with special mounts for the drives so that they can be easily installed and removed later. It was quite a puzzle to get all the angles right, but it fits.
The shafts of our system are 5 mm thick and supported by plain and ball bearings. We use a 3/16 DogDrive for the propeller mount.
Similar changes are also made to the rudder system, because a 3 mm brass shaft … that can’t really work. Here I use a 5 mm shaft with a stainless steel blade. This combination should also stand up well to more agile cornering.
the Gundert rigid shaft system especially for the Comtesse
48.2 x 1.9 aluminum propeller with dog drive
Motor flange for aero-naut actro-n 50-2-760 motors
Shaft system mounted on our motor mount
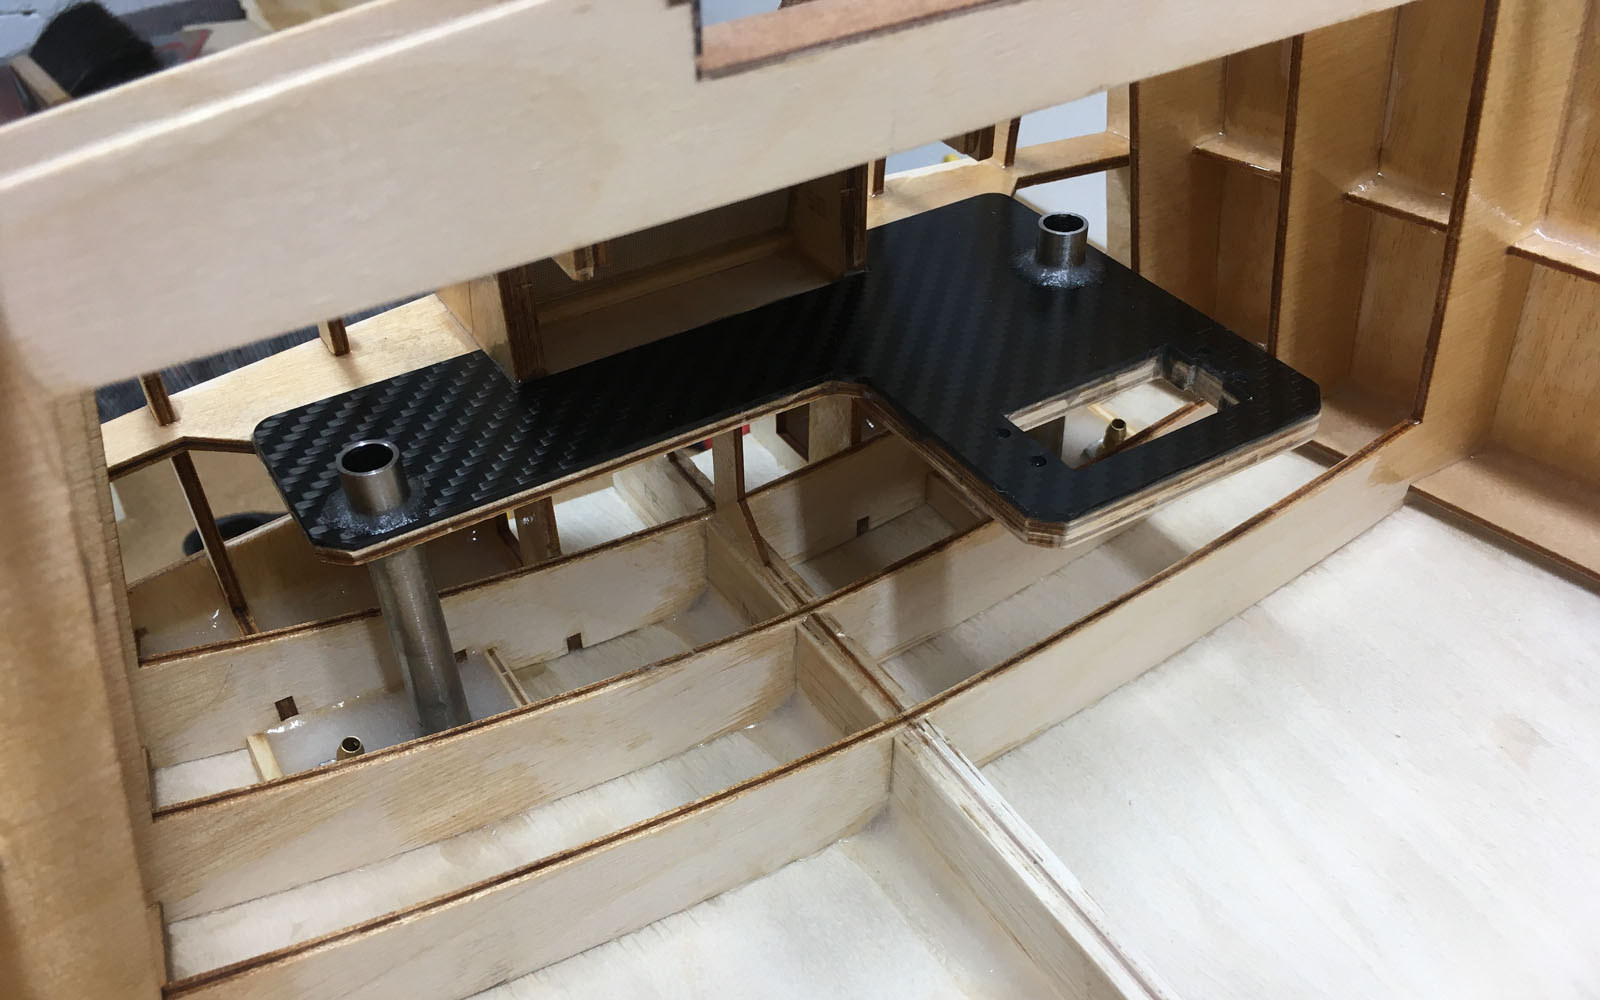
Our rudder system is designed for very powerful servos, such as the KST BLS 359 WP or the KST CM3510MG V6.0. These two servos from KST are waterproof and have a power rating of 28 Kgf.cm and 35Kgf.cm respectively. For this reason, we decided to reinforce the original servo board from aero-naut so that it does not warp. For this purpose, a carbon support was milled and glued to the original board. You can purchase this servo board as well as the rudder system in our Store.
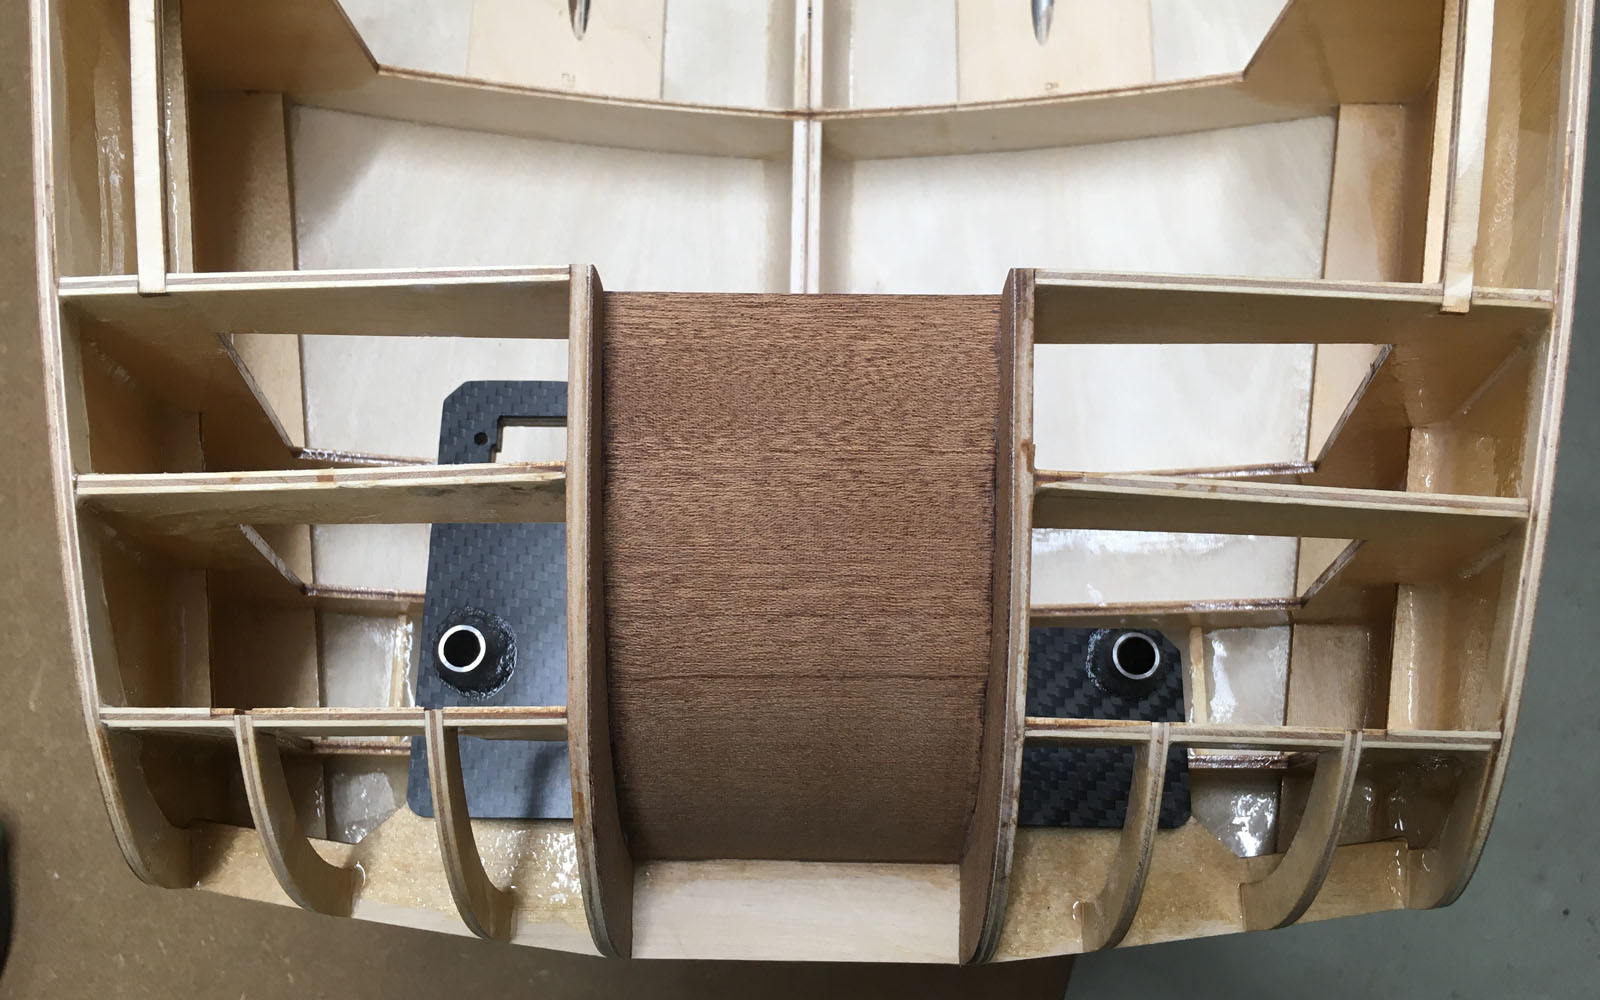
If possible, the servo board should be installed before the deck is planked so that there is enough space to drill the holes for the new rudder cokers. However, it is also possible with a little extra effort afterwards. When we glued the rudder cokers in the hull, we also resin-welded in the cooling water inlets for the speed governors.
our servoboard with bonded stainless steel rudder cokers
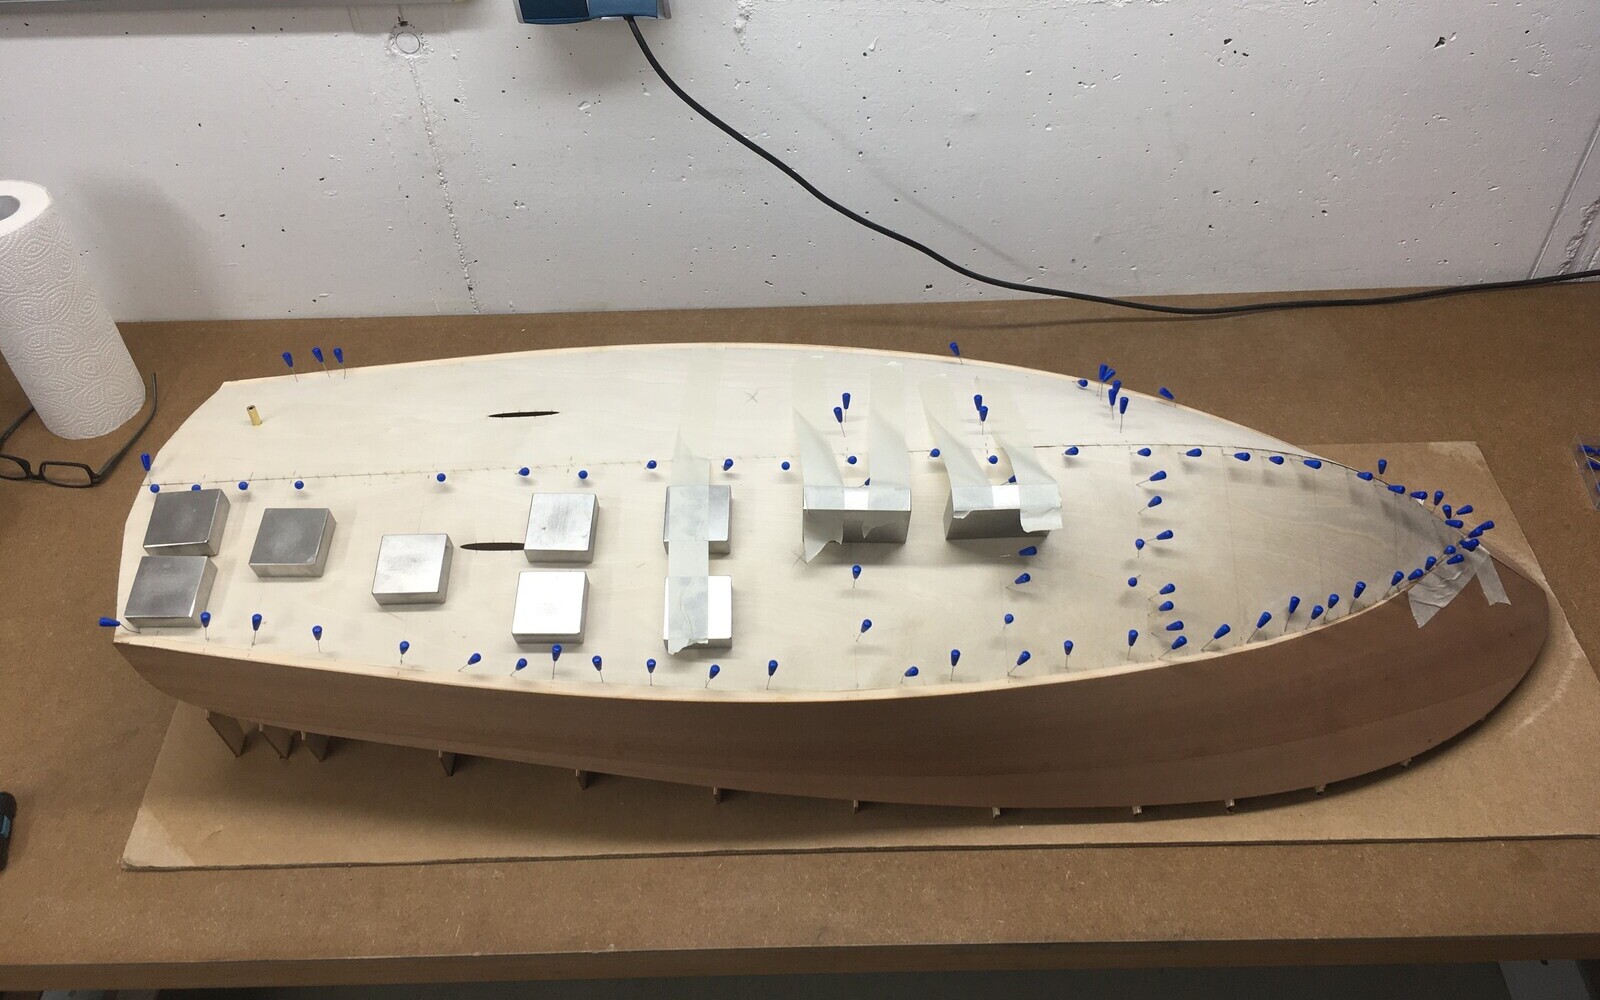
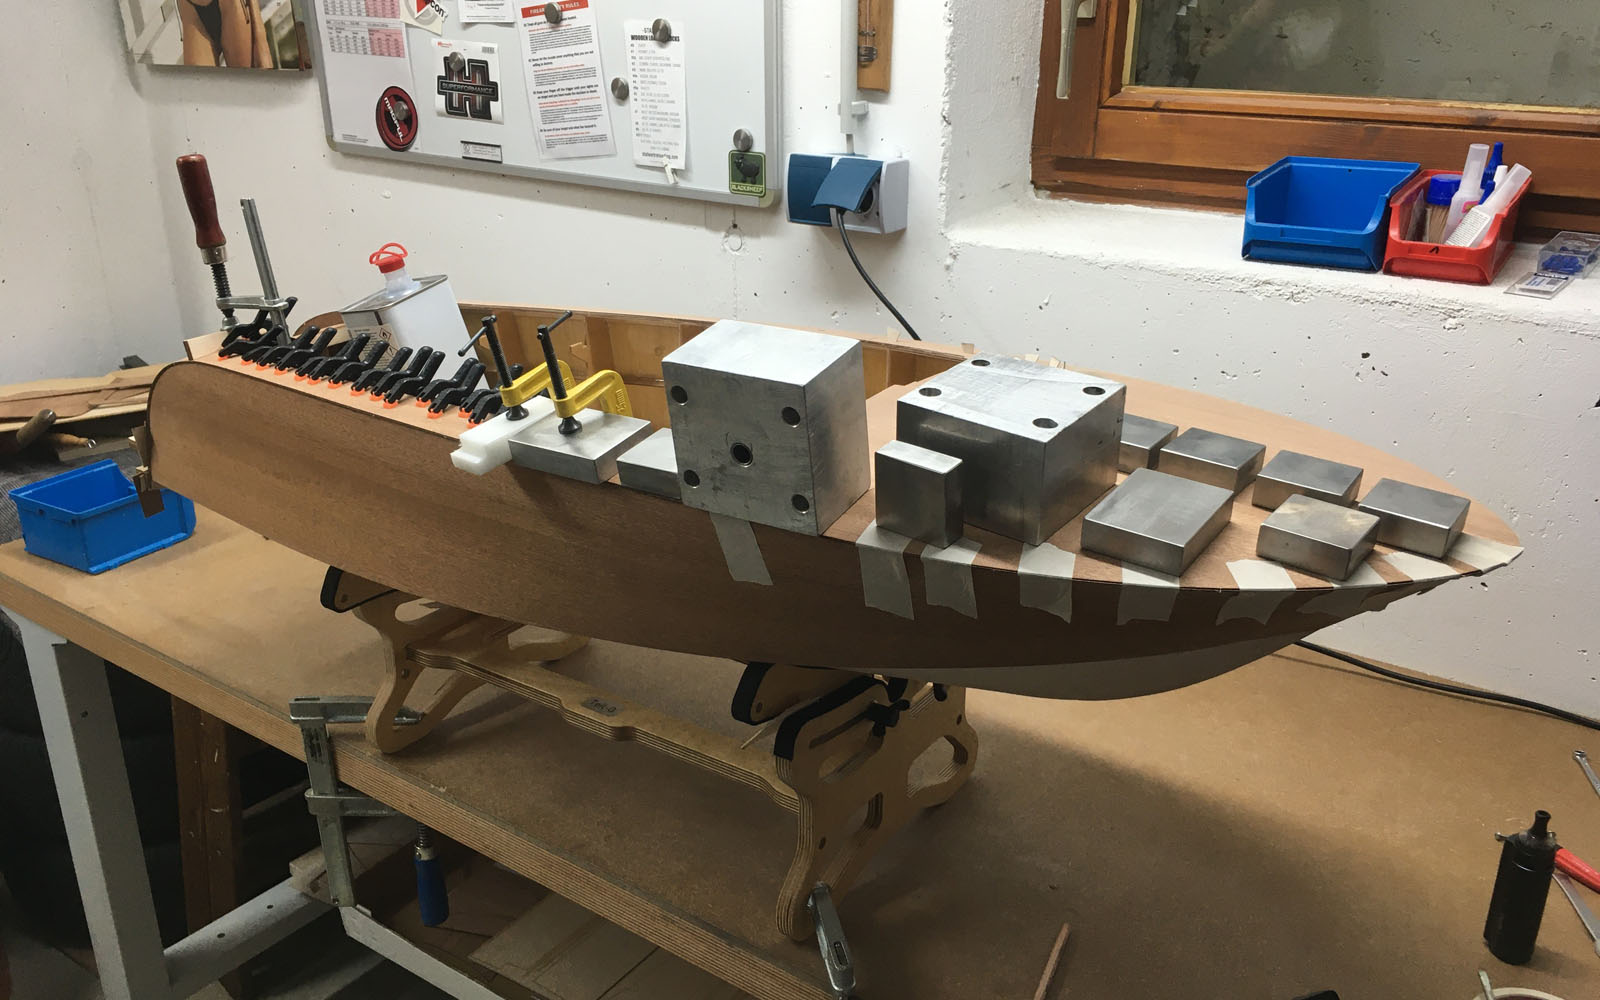
the boat still has a top view...
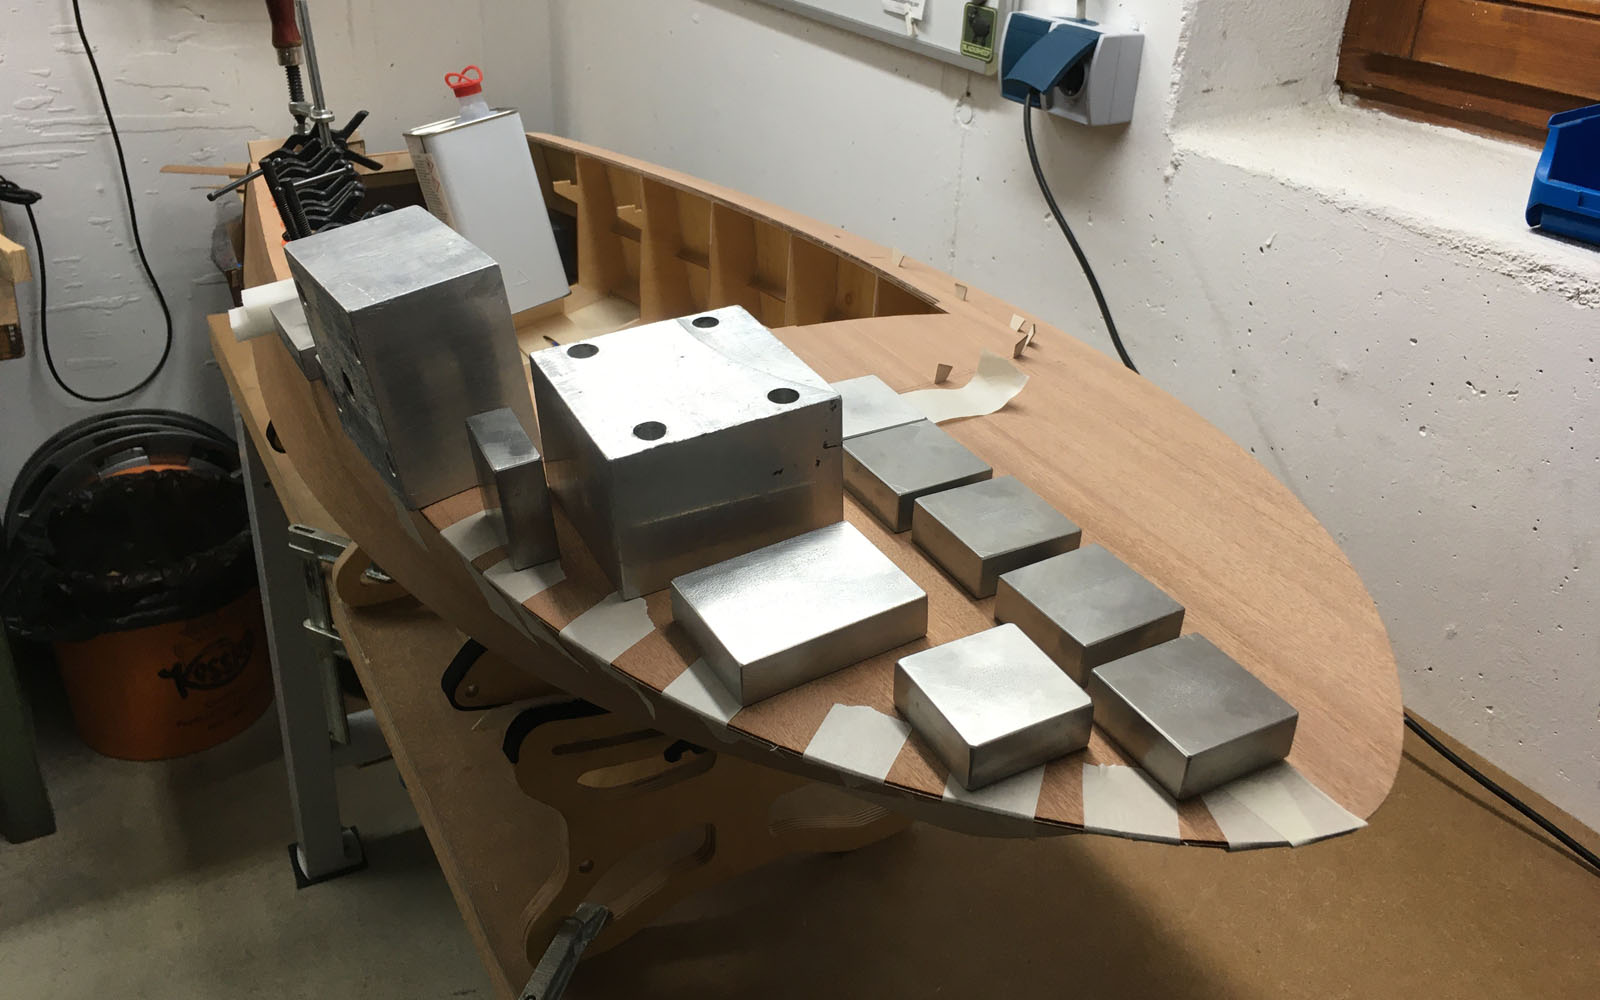
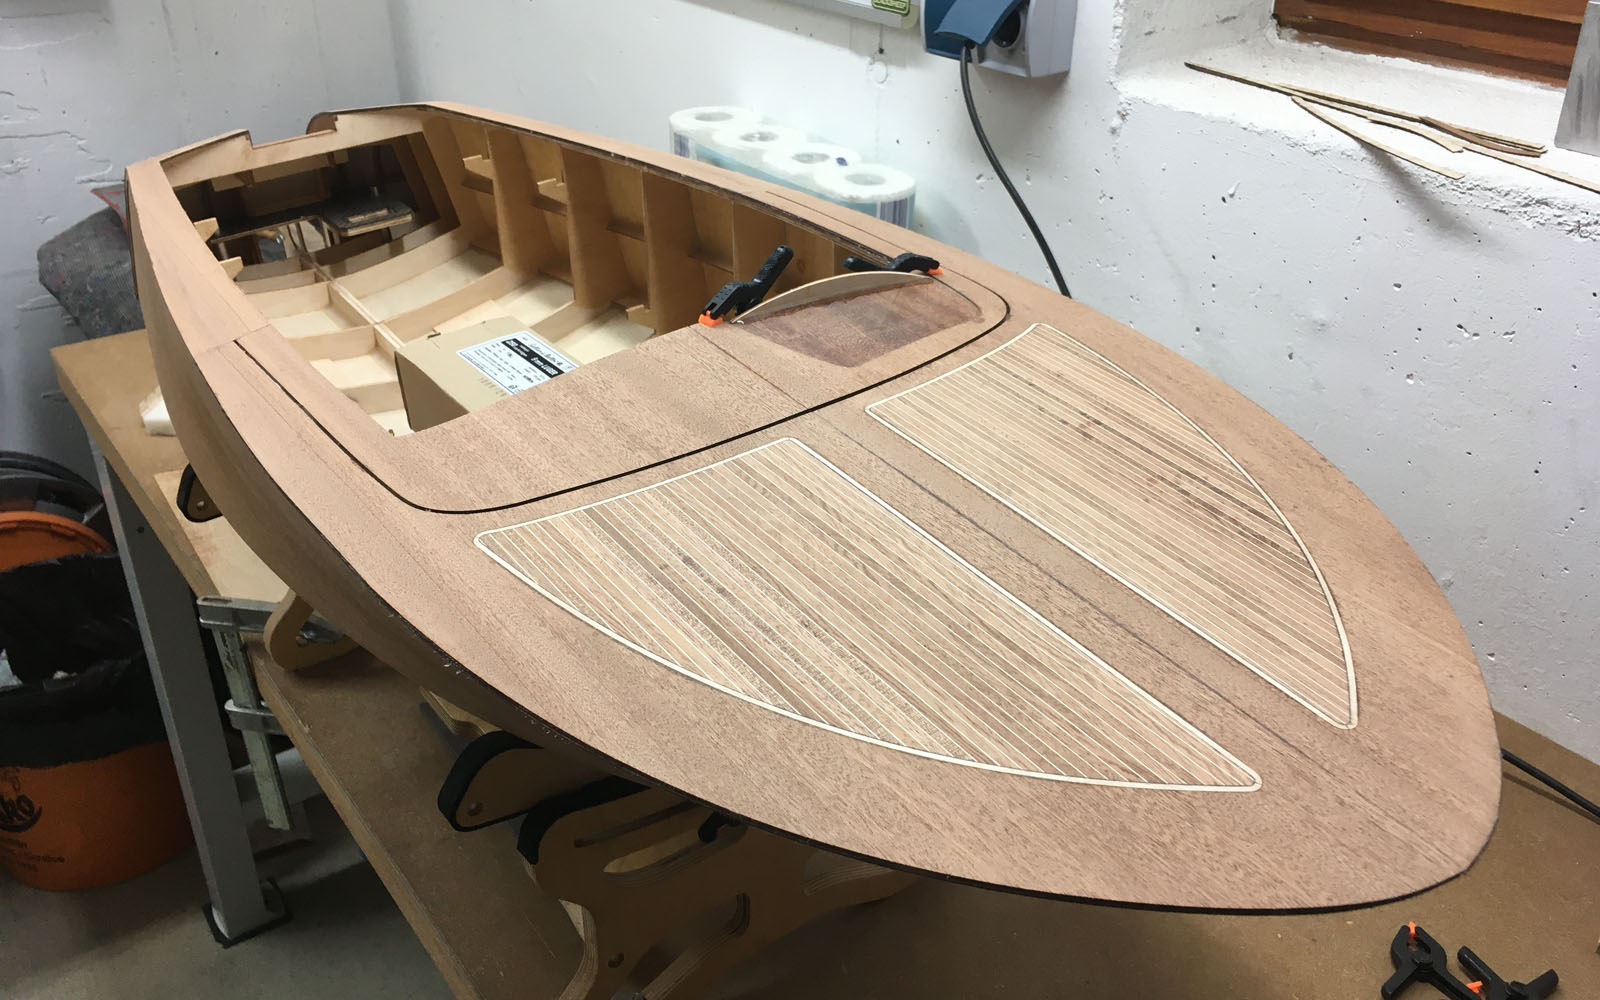
Now that all the work on the hull has been completed, we can finally get to work on the deck. We glued the first and second layers of mahogany veneer to the frame using white glue, as described by aero-naut. The only difference is that we didn’t paint anything with pore filler. Since the whole boat is then painted with Miposeal, this is not necessary and the gluing holds better. The second layer has already been sealed with Miposeal once the white glue has hardened, as we want to glue on the third layer of mahogany with resin. In my opinion, this is necessary because the inlays are to be glued in with 2-component adhesive and you also get what should I call a leveling layer.
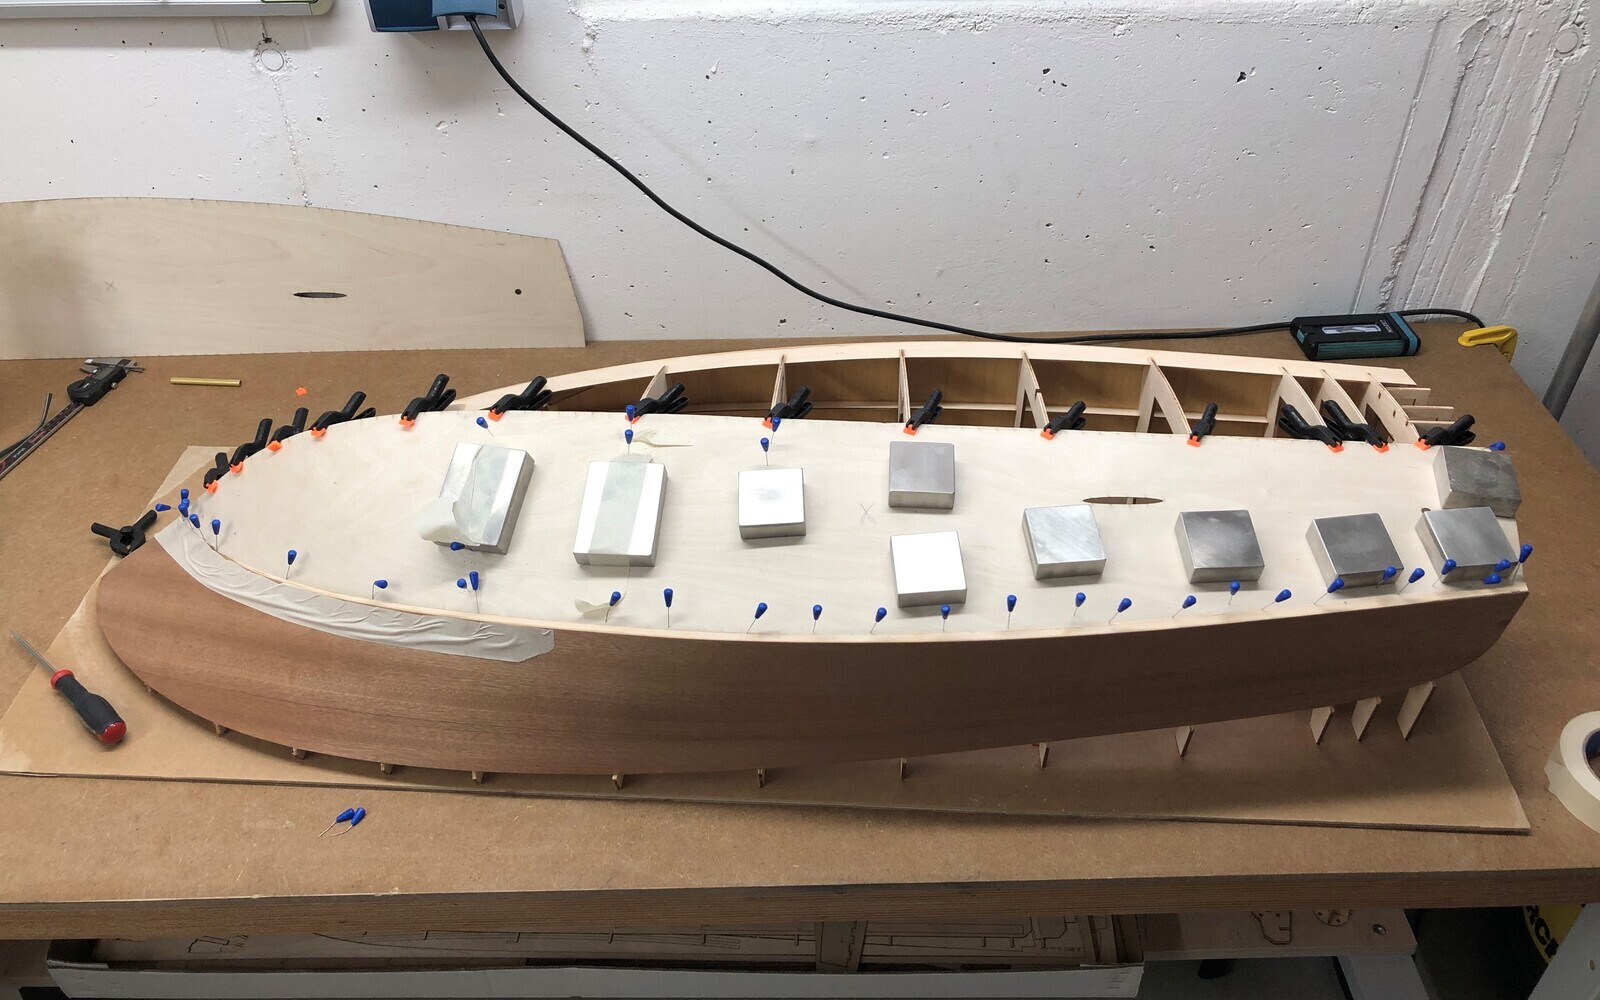
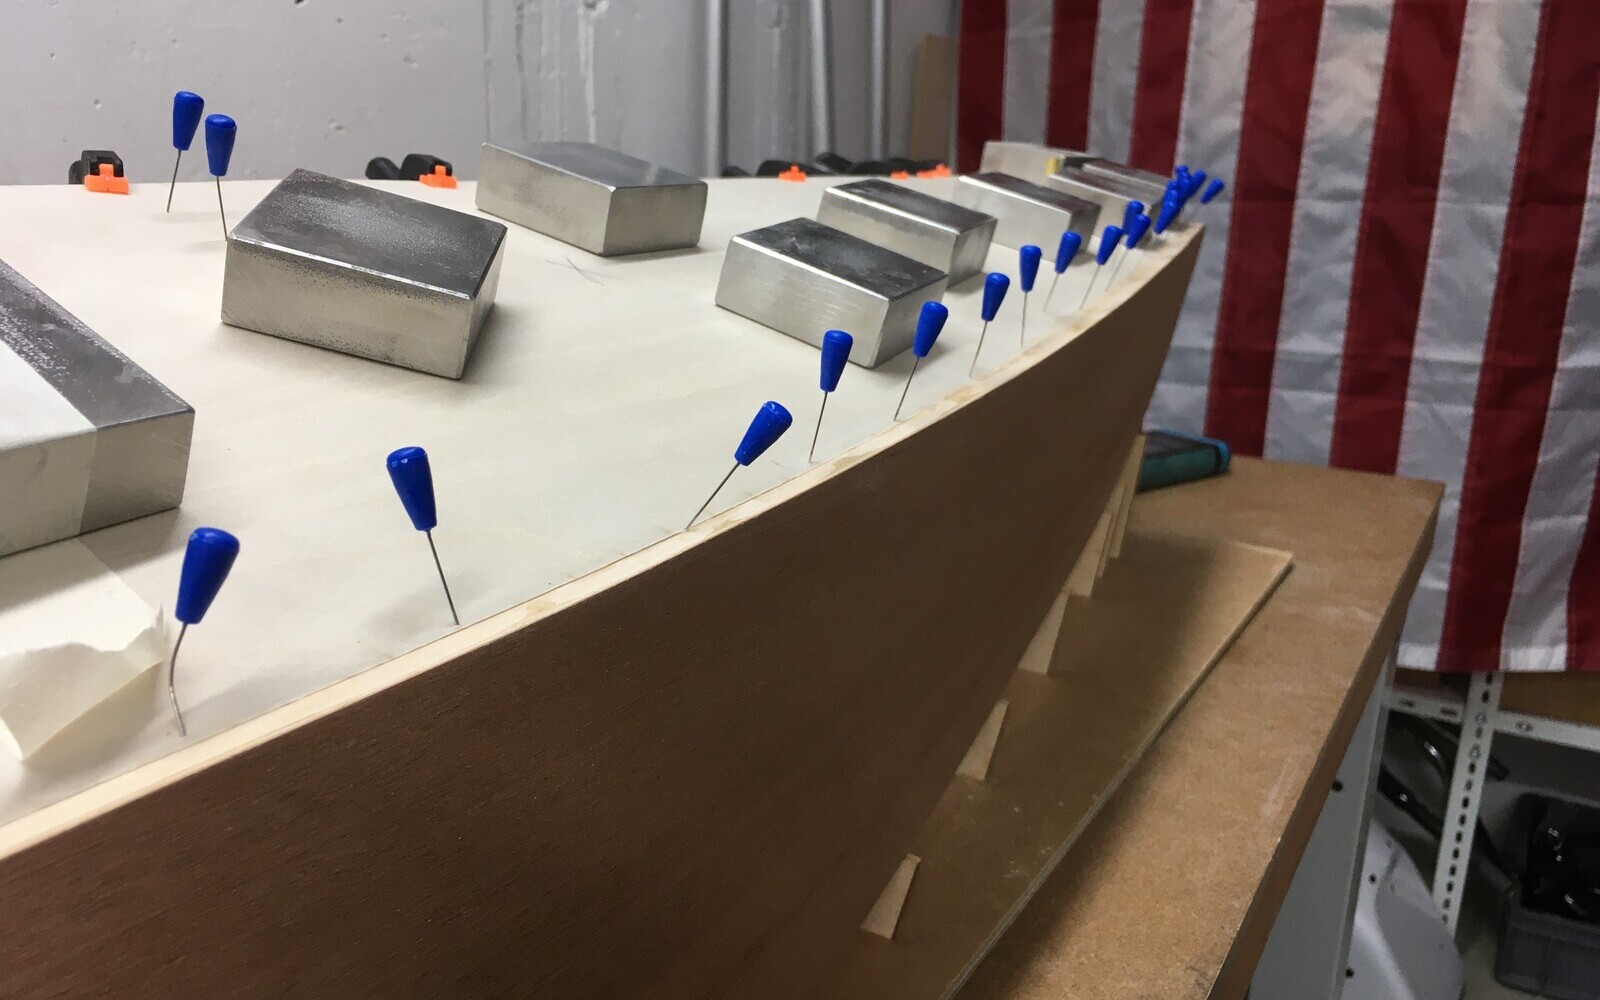
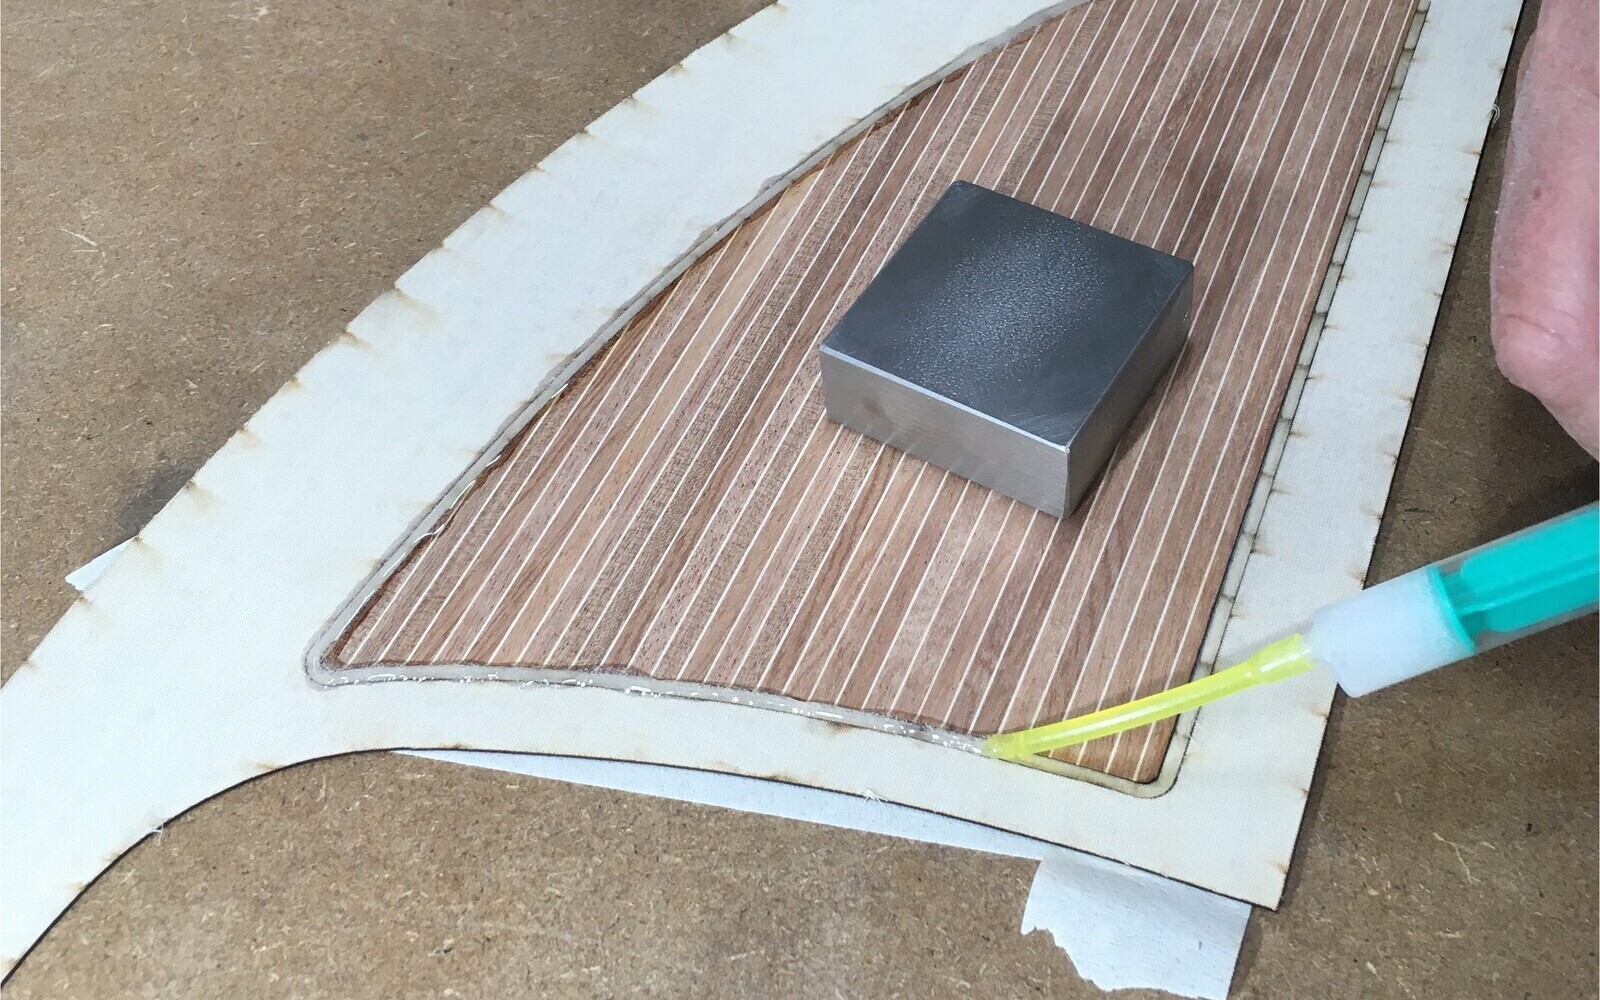
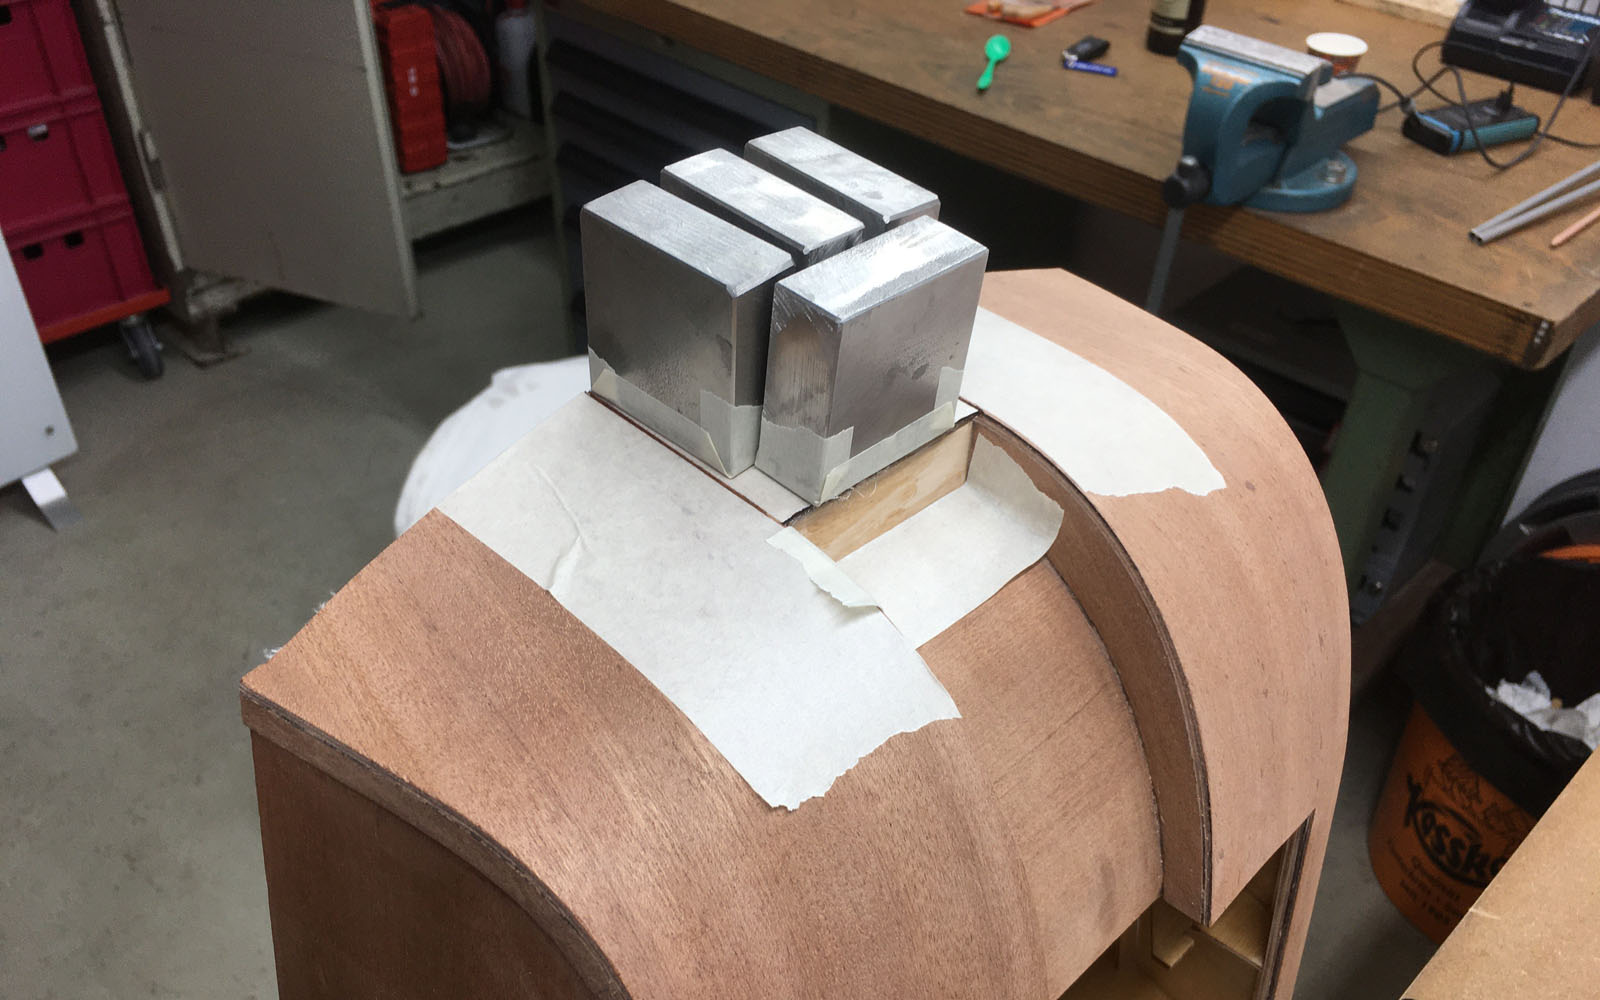
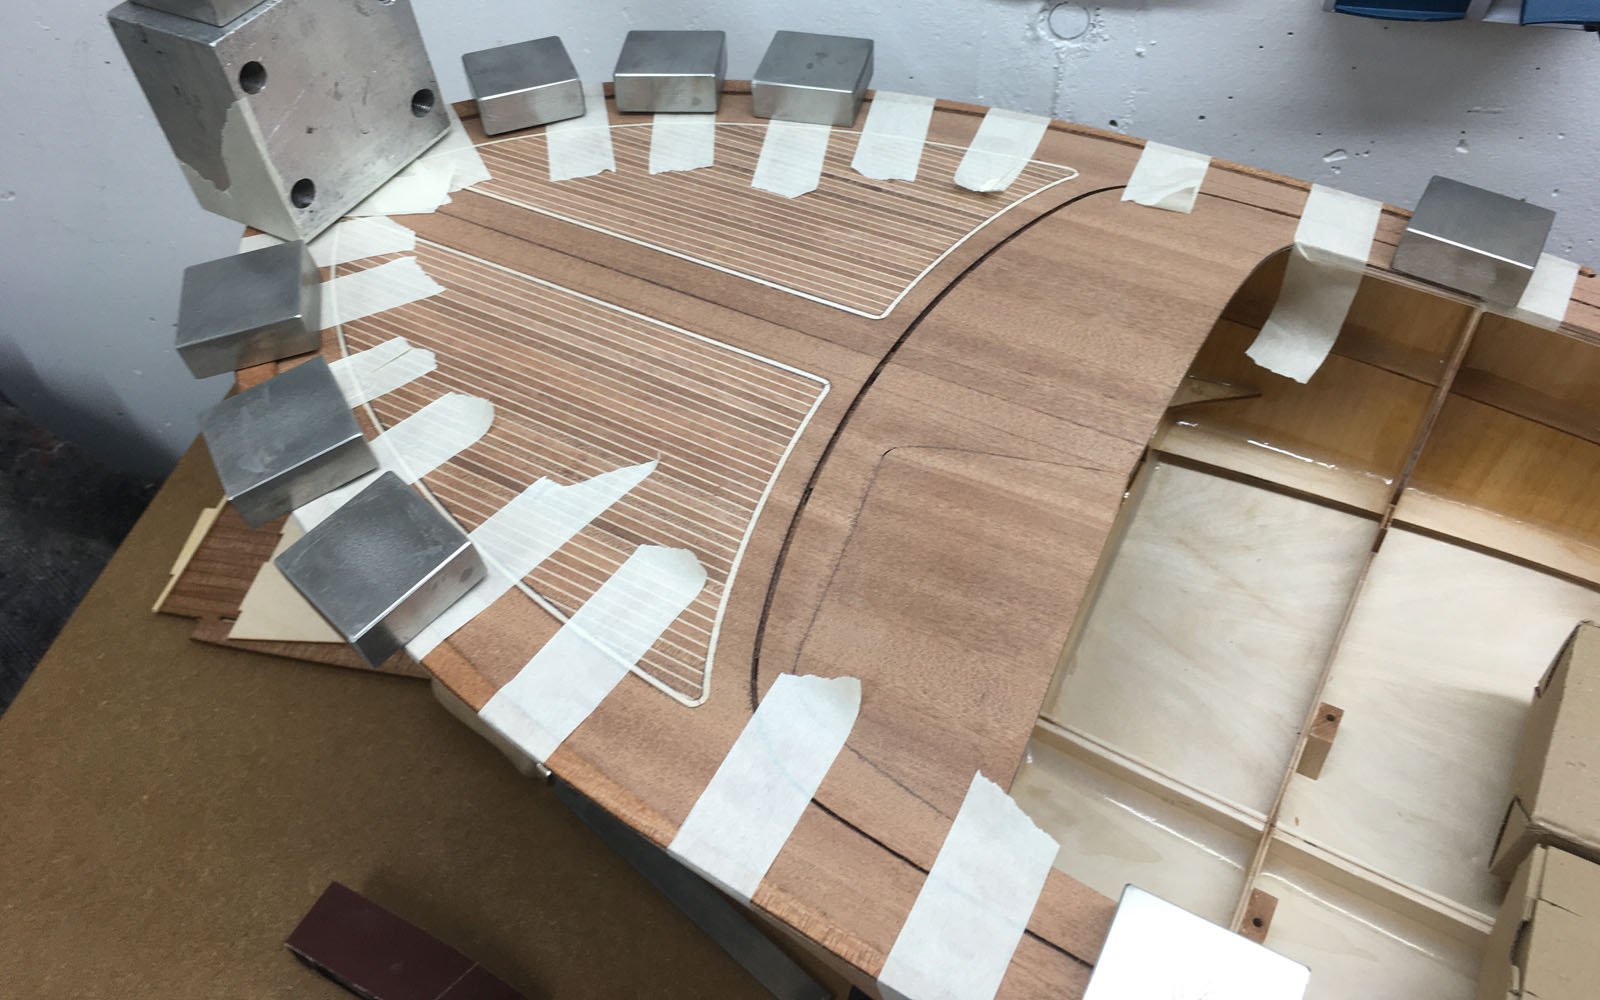
As described by aero-naut, we inserted the inlays into the top layer and glued them to the underside with 2-component adhesive (our resin). As we wanted the whole thing to be nice and flat in the end, we put cling film on top and weighed it down with weights to harden it. We let it dry for a good day and then glued it to the second layer with resin as already mentioned. With a great result, we think.
the first layer is glued on ...
the second layer is applied with white glue
Gluing the inlays
and fixed for curing
the veneers must be pressed well
...the deck looks good
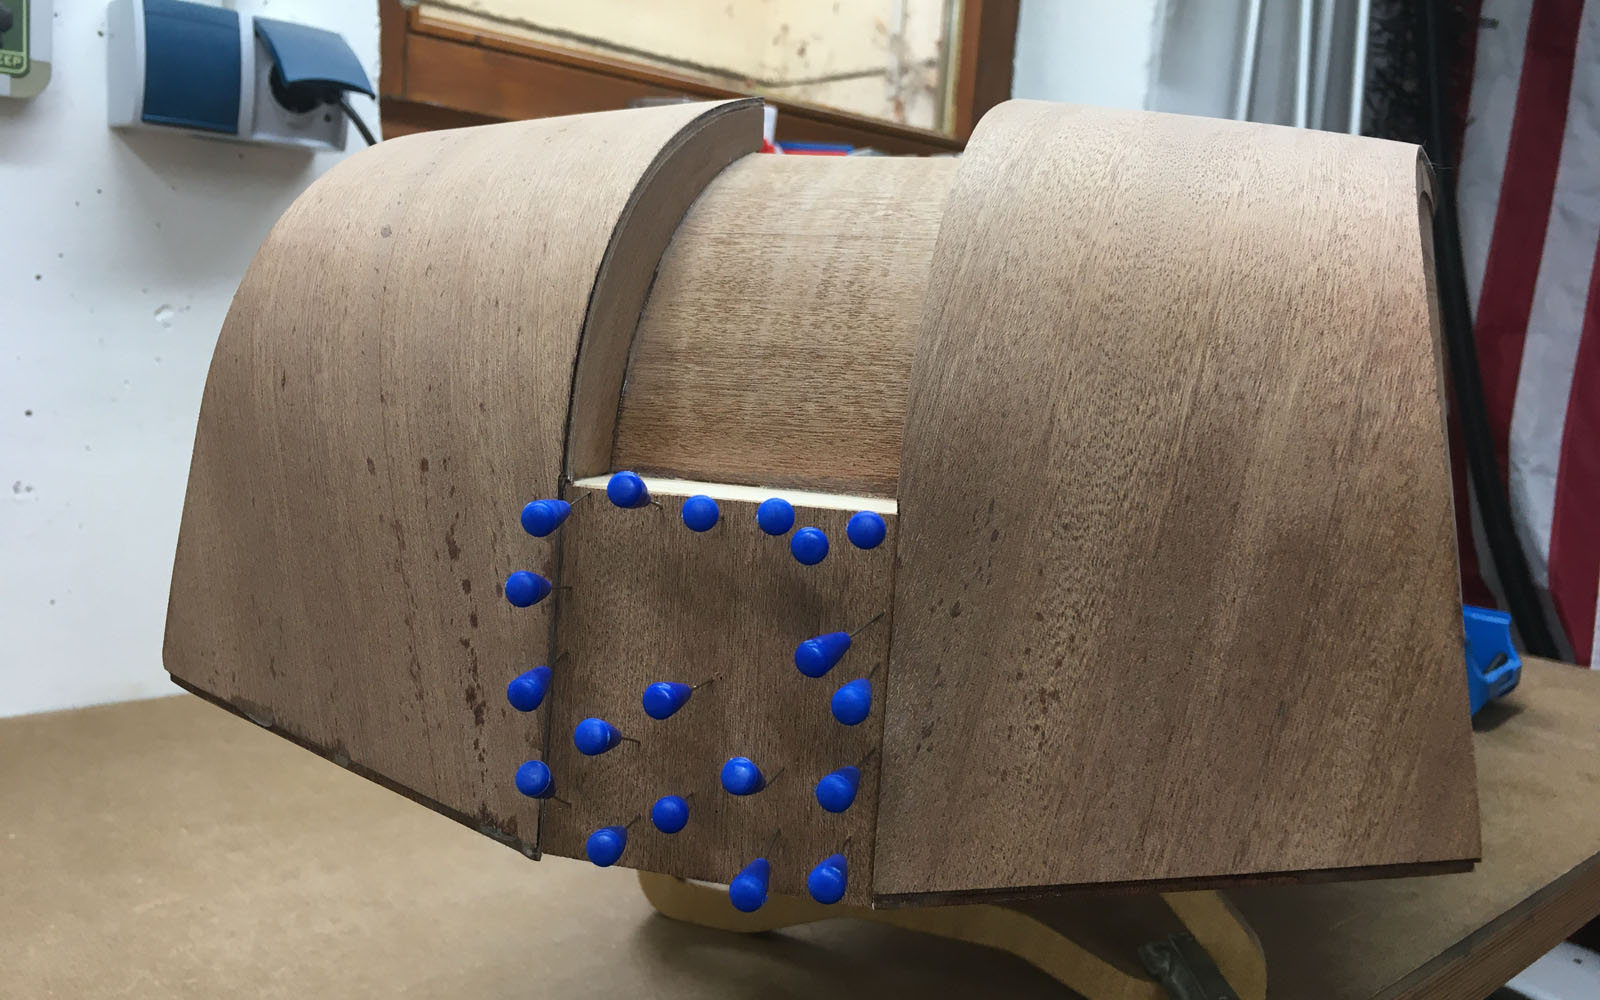
We also want to plank the transom in three layers, as there is enough material left over from the mahogany. The frame was doubled up and then the remaining part of the stern was sealed in the same way as the deck.
Now all that was left to do was to glue the bumper strips to the bow area and the side strips and we could sand the whole boat and seal it with our HT 2 epoxy resin .
Doubling up the frames
the third layer is pressed again
the first layer of the sterns is glued
the protective strip is glued to the bow
Here it continues balt - to be continued...


Precision is no coincidence, it is our goal.